Winter Maintenance Guide: Frozen pipes

A Winter Maintenance Guide to Preventing Frozen Pipes 

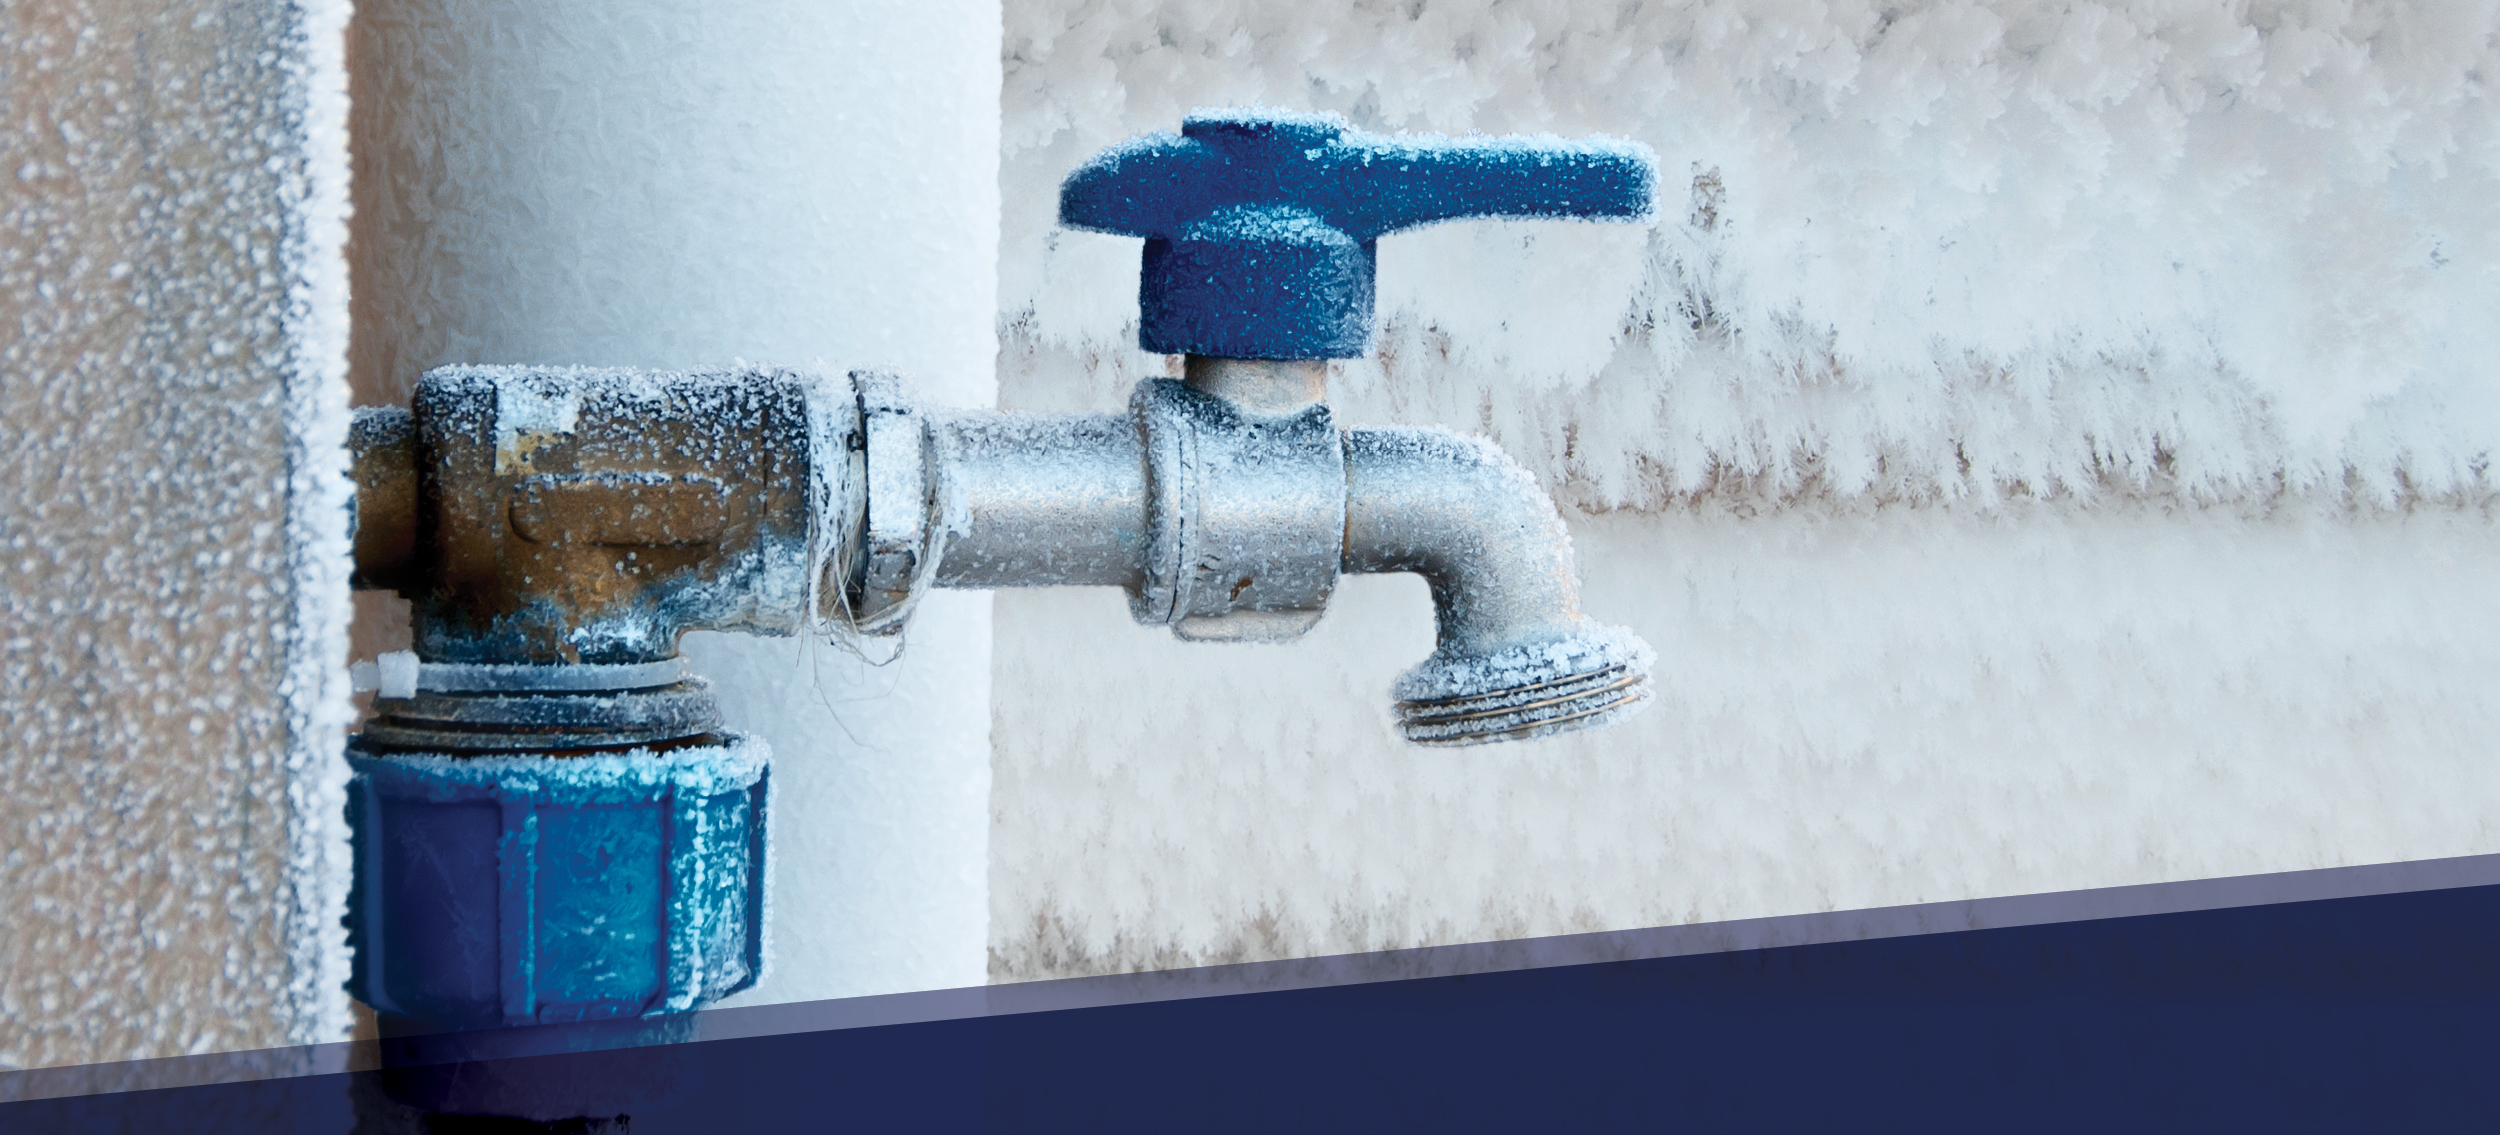
As the weather gets more frigid with each passing day in many parts of the world, it's important to be prepared for freezing temperatures. Frozen pipes are notoriously known to cause a significant amount of damage every year, and can result in thousands of dollars in damages if not handled correctly. When water freezes and expands, pressure builds, and vulnerable pipes are likely to burst. The smallest crack in a pipe can spew hundreds of gallons of water, resulting in flooding, mold, and structural damage. Unlike winter storms, bursting pipes are largely preventable with the right preparation. Here are a few tips on how to prevent frozen pipes, how to thaw frozen pipes before they burst, and how to avoid water damage before it’s too late:

Preventing Frozen Pipes

When temperatures drop below -6° C for at least six consecutive hours, pipes are at a risk of freezing. In order to mitigate the risk, it’s crucial to consider the following:

Insulate pipes: Pipes that are exposed, pipes that run through exterior walls, and pipes that are located in unheated crawl spaces, attics, and basements are all highly susceptible to freezing. To build thermal protection around pipes, it’s important to use materials like tubular foam, pipe wrap, and heat cable to raise water temperatures by -15.56° C.    

Seal leaks: Air leaks around electrical wiring and vents allow frigid temperatures to make their way around vulnerable pipes. Look for cracks around the building and tightly seal with caulk, weatherstripping, or additional insulation materials to keep cold air outside.

Keep consistent temperatures: Thermostats should be kept at a consistent temperature throughout the day and night. Dropping the temperature indoors at night may offer a lower heating bill, but adjusting below 12.78° C during extreme cold can cause a devastating strain on both pipes and furnaces.   

Thawing Frozen Pipes

If only a few drops of water trickle out of a faucet when it’s freezing outside, there’s a good chance the pipes are frozen. In this stage, it’s not too late to take action before they burst:  

Apply heat: Slowly apply heat using an electrical heating pad, a space heater, or hot towels. Be cautious of using appliances in areas of standing water to avoid electrocution. Start by warming the pipe as close to the faucet as possible, gradually moving towards the coldest portion of the pipe.   

Keep water running: While treating the pipes, keep faucets turned on to allow a consistent flow of water. As the frozen area begins to melt, running water will assist in preventing pressure buildup and blockages that can cause a burst. 

Check all faucets: If one pipe is frozen, it’s likely not an isolated situation. Check all faucets around the building for dripping water and repeat the heating process until all water pressure is restored.  

After Pipes Burst

When frozen pipes go undetected and untreated, ice blockages will likely cause pipes to burst. After the burst occurs, it’s critical to take immediate action. 

Contact a water restoration expert: When it comes to mold and bacteria, time is the enemy. Everything that comes into contact with water must be properly dried, cleaned and disinfected within 48 hours to avoid residual damage. Trained professionals know the quickest, safest, most efficient ways to salvage the building and its contents by measuring and recording temperature, moisture, and humidity.  

Shut off water: Locate the main water supply and shut it off to stop the heavy flow of water. Leave faucets on to relieve the pipe of remaining pressure and cold water. If the leak occurred near any electrical sockets or fuse boxes, it’s crucial to turn electricity off.  

Remove standing water: The longer water stays in the building, the higher potential for mold and mildew issues. Remove as much water and moisture from the area as possible, while waiting for the experts, using a durable dehumidifier and high-speed air mover. Carpeting, drywall, rugs, cloth, and other porous materials are the most vulnerable to damage.

But if disaster does strike, check out our blog on Disaster Restoration Solutions.

Winterization checklist: How to prepare your building for winter

Winterization checklist: How to prepare your building for winter

Avoid property damage with these quick tips

Winters in Canada and the northern U.S. are notoriously harsh. Each year, piled-up snow and ice damages roofs, and frozen pipes burst to wreak havoc on structures of all shapes and sizes. While winter storms are outside your control, preparing for them is not. 

Here are some quick tips to prepare your building for winter. 

Prevent Plumbing and Pipe Problems

One of the main threats that cold weather poses to buildings is frozen pipes. When pipes freeze, they burst, and the ensuing water damage can lead to mold growth, structural damage, and significant repair costs. Here’s what you can do to prepare:

  1. Keep inside temperature above 55F/12C to prevent freezing
  2. Check pipes for any air leaks
  3. If pipes are in non-insulated or non-heated areas, consider wrapping pipes in insulation to prevent freezing

Additionally, it’s best to expect the unexpected and prepare for the worst. In this case, that means having equipment on hand to handle flooding. When a pipe bursts and water spills into your building, the clock immediately begins ticking. Mold can form in just 24-72 hours. If you don’t have equipment on hand, you’ll be asking how to get rid of mold rather than how to prevent it. 

Here are some items you’ll want to have around in the case of a burst pipe:

  1. Air movers, such as the RAPTOR® RAM1000 Centrifugal Air Mover
  2. Dehumidifiers, such as the AQUATRAP® AT150RS LGR Dehumidifier

When flooding occurs, use air movers to dry the building and dehumidifiers to capture and remove the moisture in the air. 

Secure your Structure

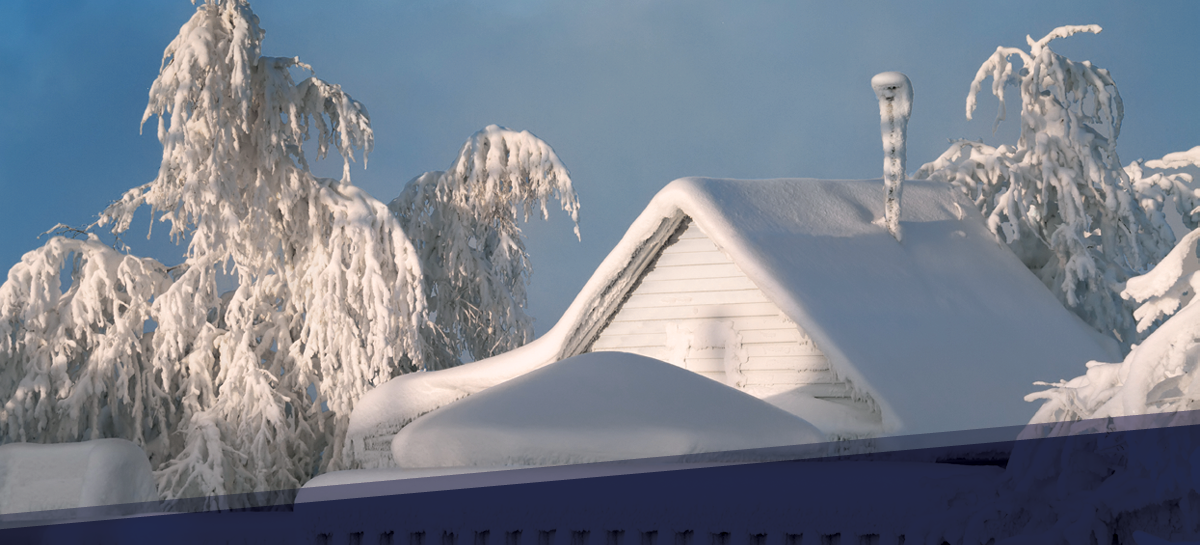
Though snow may look light and fluffy when it’s falling, anyone who has shoveled snow knows that fluffy snowflakes accumulate into dense snow packs. While snow piling on your driveway may be little more than an annual inconvenience, snow piling on roofs can cause severe structural damage. 

The most dramatic example of structural damage from snow is roofs caving in. But this isn’t the only, or the most common, way that snow and ice on roofs can cause damage. The more common threat to structures from snow buildup is water damage. Snowmelt on roofs can leak into attics and cause mold growth. This can happen when shingles are missing or broken on the roofs, allowing water to seep through. 

Additionally, ice dams forming around gutters are a major concern. Like caved-in roofs, falling icicles causing serious injury or death to passersby are a dramatic example. More commonly, these icicles grow in size and weight, putting strain on gutters and causing them to break. When this happens, the falling gutters and ice can damage the rest of your structure and make exposed portions of the structure liable to water damage. 

Here’s what you can do to protect your roof from snow and ice:

  1. Clean the gutters, removing any leaves, debris, snow, or ice
  2. Inspect the roof, looking for missing or broken shingles
  3. Install heated cabling to warm your roof and prevent snow buildup

Have your HVAC’s Back

Your HVAC system has your back all year, keeping you cool in the summer and cozy in the winter. The least you can do is ensure it’s set up for success going into winter. As you put more strain on your HVAC system to heat your building throughout the cold winter months, here are a few things you can do to have its back:

  1. Change the filters
  2. Empty condensation traps
  3. Inspect the system for any blockages

Win with Winterization

At times, winter can feel like a primal battle between you and the elements. You never know what winter will throw at you, but by preparing for the worst, you set yourself up for success no matter what winter holds. This winter, be ready for anything with Abatement Technologies equipment at your disposal and win the battle against winter.

What to do When Flooding Occurs in a Hospital

What to do When Flooding Occurs in a Hospital

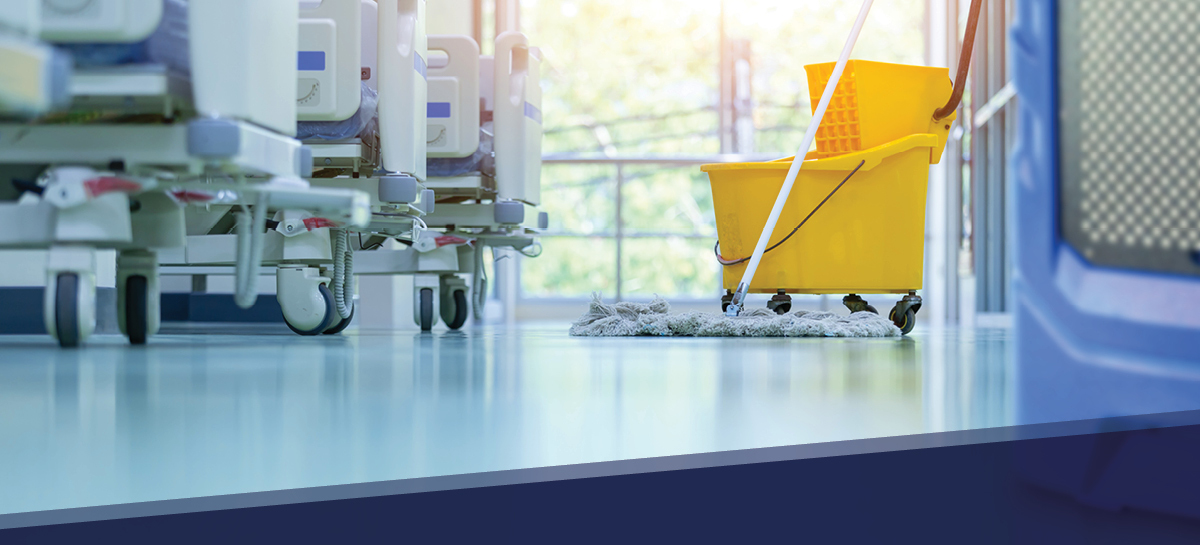
Hospitals, like all buildings, are subject to maintenance, repair, and restoration needs, sometimes at a moment's notice. Few building emergencies are worse than flooding. Whether it’s natural disasters flooding from heavy rain and hurricanes, or floods from equipment failure like burst pipes, floods are an emergency that can keep building managers up at night. This is perhaps more so in hospitals where increased regulations and patient safety concerns are cause for special precautions. 

Protecting Patients

When flooding occurs in a hospital and remediation is required, the number one priority is to protect patients throughout the process. After all, patients come to hospitals to be cured, not put in harm's way. In the case of hospital construction, maintenance, or restoration, one of the first steps is to construct containment walls around the affected area. Like isolating a patient, construction areas need isolation, too. With flooding, contractors need to contain the affected area to stop the spread of mold into adjacent spaces. In many cases, poly sheeting will be used to create a containment space. In high risk environments and larger disaster areas, drywall may be required. 

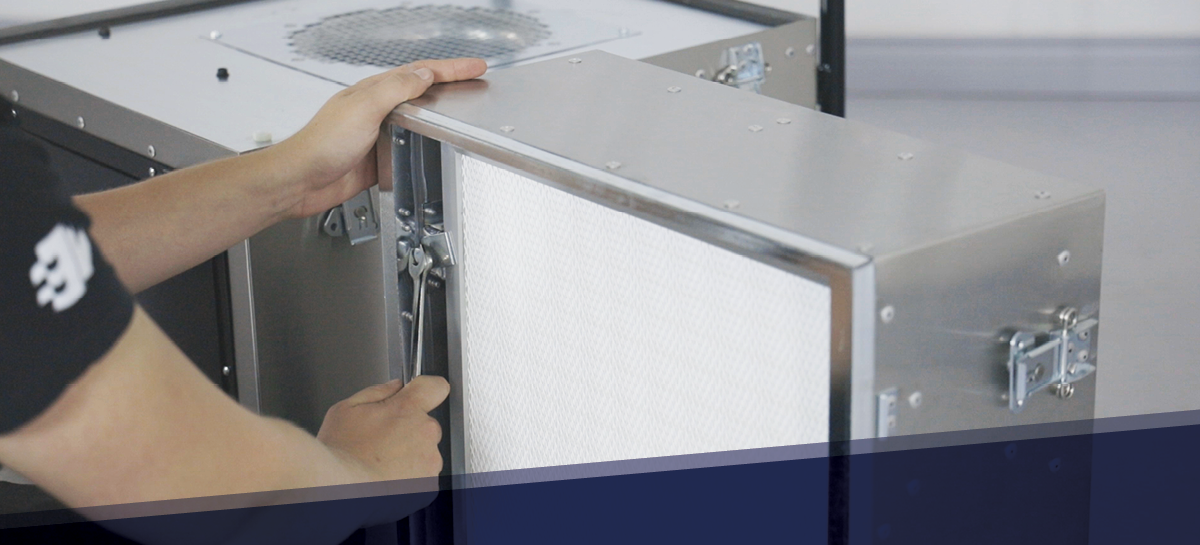
Once the containment is in place contractors create a negative pressure environment using HEPA-filtered negative air machines or portable air scrubbers. Creating a negative pressure environment helps ensure that unfiltered air inside the containment area does not leak out. The HEPA-filtered negative air machines and portable air scrubbers draw contaminated air in, filter the air, and then exhaust the filtered air out of the containment area through ductwork. Federal, state, provincial, local, and facility regulations will determine whether HEPA air can be discharged inside or whether it needs to be directed outside. 

Acting Fast

In cases of flooding, acting fast is imperative. Mold grows in 24-72 hours, and the longer a building stays wet, the longer mold has to grow. Once mold grows, it becomes much more difficult to get rid of and can be a health risk. Therefore, remediation teams must act fast. However, constructing traditional walls can take days. That’s where the SHIELD WALL® comes in. Unlike traditional walls, these lightweight polycarbonate walls are easy to transport and can be set up by a small team in a matter of hours, not days, allowing remediation teams to quickly get to work.

Reducing Waste

In an emergency, it’s a natural human instinct to get the job done as quickly as possible. One might choose to use whatever materials are readily available, which might not be the most financially conscious or sustainable route. Using single-use solutions only adds more to the financial burden. When hospitals construct temporary drywall walls to contain construction and remediation areas, the walls are discarded afterward. With skyrocketing lumber prices, this is an excess cost that adds up over time. With reusable containment walls, like the SHIELD WALL® System, companies can reuse the same containment walls for years in a row, saving money and promoting more sustainable business practices. 

Hospital Flood Abatement: A Case Study

Curious about what this looks like in real life? Request a case study below to learn how Northern Manitoba Regional Health protected patients, acted fast, and reduced waste by using the SHIELD WALL® System when a pipe burst overnight, dumping 70,000 gallons of water into a mechanical room and operating room. 

The Secrets of Negative Pressure Containment

The Secrets of Negative Pressure Containment

The average hospital lasts more than 40 years, and often as many as 100 years. If you've ever considered buying an old house, or seen others do it on TV, you know just how much renovation and maintenance they require. Now multiply the square footage by more than 10, and you can imagine how much renovation is consistently needed in hospitals not only to keep them going but to continually improve services and meet changing building requirements.

While renovation and maintenance projects may pose little more than an inconvenience to homeowners, they require special attention in healthcare facilities because of the danger that airborne particles, spores, and pathogens released into the air by construction pose to patients. In order to carry out essential construction and maintenance work without harming patients, construction zones must be sealed off from patients, and air must be filtered and diverted away from vulnerable patients. 

To do this, facilities must perform Negative Pressure Containment. 

What is Negative Pressure Containment?

By its very definition, a negative pressure room has more air exiting it then entering. There is less air inside the room compared to the other rooms, hence why it is negative. What this does is ensures that any airflow outside of the HEPA exhaust is flowing into the room to fill that vacuum. Because airflow can only flow in one direction through the cracks or designated makeup air locations, the contaminants cannot escape the room.  Always check regulations when exhausting inside a healthcare facility as regulations can vary.

How to create Negative Pressure Containment

There are four key steps to creating negative pressure containment:

1. Construct a physical barrier around the area. 

Product Tip: You can do this with Abatement Technologies' AIRE GUARDIAN® SHIELD

2. Seal off any HVAC Returns

Tip: This ensures that dirty air does not escape into the rest of the building. 

3. Filter air in the sealed room with a portable air scrubber (PAS)

Product Tip: Use a HEPA-AIRE® or PREDATOR® series Portable Air Scrubber (PAS) from Abatement Technologies.

4. Use a PAS (portable air scrubber) to exhaust the filtered air out the construction zone through duct work

Product Tip: Find compatible duct here

Get it right everytime

Before attempting to create negative pressure, use our air change calculator to determine your airflow needs. Once you’ve followed the four steps above, use a portable differential pressure monitor for the most accurate reading of your negative pressurization. 

Ready to learn more about Abatement Technologies? Contact us today!

Disaster Restoration Solutions

Disaster Restoration Solutions

Abatement Technologies® offers a full line of equipment, products and chemicals to help fire and water restoration contractors and mold abatement contractors increase productivity and dry structures faster. Our industry specialists are available to answer product questions or discuss drying solutions on your restoration job. 

US and Canadian workplace safety regulations require certified electrical equipment.

OSHA safety regulations in the U.S. and CAN/CSA regulations in Canada require all electrical device models used in the workplace to conform to applicable safety standards. This means that the device must be submitted by the manufacturer to an OSHA Certified Nationally Recognized Testing Laboratory (NRTL) such as UL, TUV, ETL or CSA for the specified certification testing.

HEPA filtration devices  such as portable air scrubbers and axial and centrifugal air movers must conform to the UL507 “Fans and Blowers” standard. Devices with plastic cabinets (enclosures) that contain energized electrical components must be NRTL certified to conform to UL flammability standards (typically UL94HB) as well.

The unfortunate truth 

 A significant number of the HEPA filtration devices, air movers and other devices sold and in wide use today are not NRTL certified. This problem appears to be particularly prevalent with devices imported from Asia, but applies to some products made right here in North America as well. It’s possible that some of these products might comply if submitted to and tested by an NRTL, but it appears likely that at least some would fail.

It costs money to design and build products that can conform to these safety standards. Uncertified devices may be available at a lower price, but isn’t that like playing Russian roulette? Without the proper safety certifications how can you possibly know whether or not the product is safe? With all that could be at stake is the chance to perhaps save a few bucks up front a risk that you can really afford to take?

Product safety is one of our paramount concerns

That’s why each and every Abatement Technologies portable air scrubber and air mover  model sold in the U.S. and Canada has been tested by a Nationally Recognized Testing Laboratory (NRTL) and certified to conform to UL507. All models made with polymer cabinets have also been NRTL tested and certified to conform to stringent UL94HB flammability standards.

Best Practices

All NRTL certified products must have an NRTL certification label attached to them to show that they are compliant. It might be a good time to take a few minutes to inspect your equipment and check for the labels. If they are not there it might be time to call your supplier and find out why. Or, it might be time to look for another brand that is certified. 

If you need assistance finding compliant equipment, our sales representatives are happy to help!  Contact Us

 
Translate
 
Translate