Choosing the Right Containment Cart for the Job

When it comes to construction in critical environments, nothing is more important than safety. In fact, awareness of healthcare-related infections has grown over the last several decades and construction, especially when accessing a ceiling, in critical settings is now recognized as one of the causes of the airborne transmission of pathogens. Because of this, regulations were put in place to prevent the spread of pathogens when doing maintenance in a ceiling. 

Containment Cart Requirements 

Why use a containment cart? Because disturbing a single ceiling tile can release spores of environmental fungi. Contractors and healthcare facilities alike must exercise caution by following ceiling access regulations, detailed by the ASHE ICRA 2.0 matrix.

Further, the right containment cart has the ability to meet all industry standards and certifications. In order to stay compliant, equipment must be also able to meet the Joint Commission enforced CDC guidelines, which includes an assessment to evaluate a patient's risk of infection due to exposure from airborne microbes.

AIRE GUARDIAN® Containment Carts

At Abatement Technologies, each of our containment cart models are ICRA-compliant, so contractors can feel confident that they are purchasing the right equipment for each job. Abatement Technologies’ AIRE GUARDIAN® line-up consists of three different containment carts. While each cart has similar benefits, there are a few key differences.

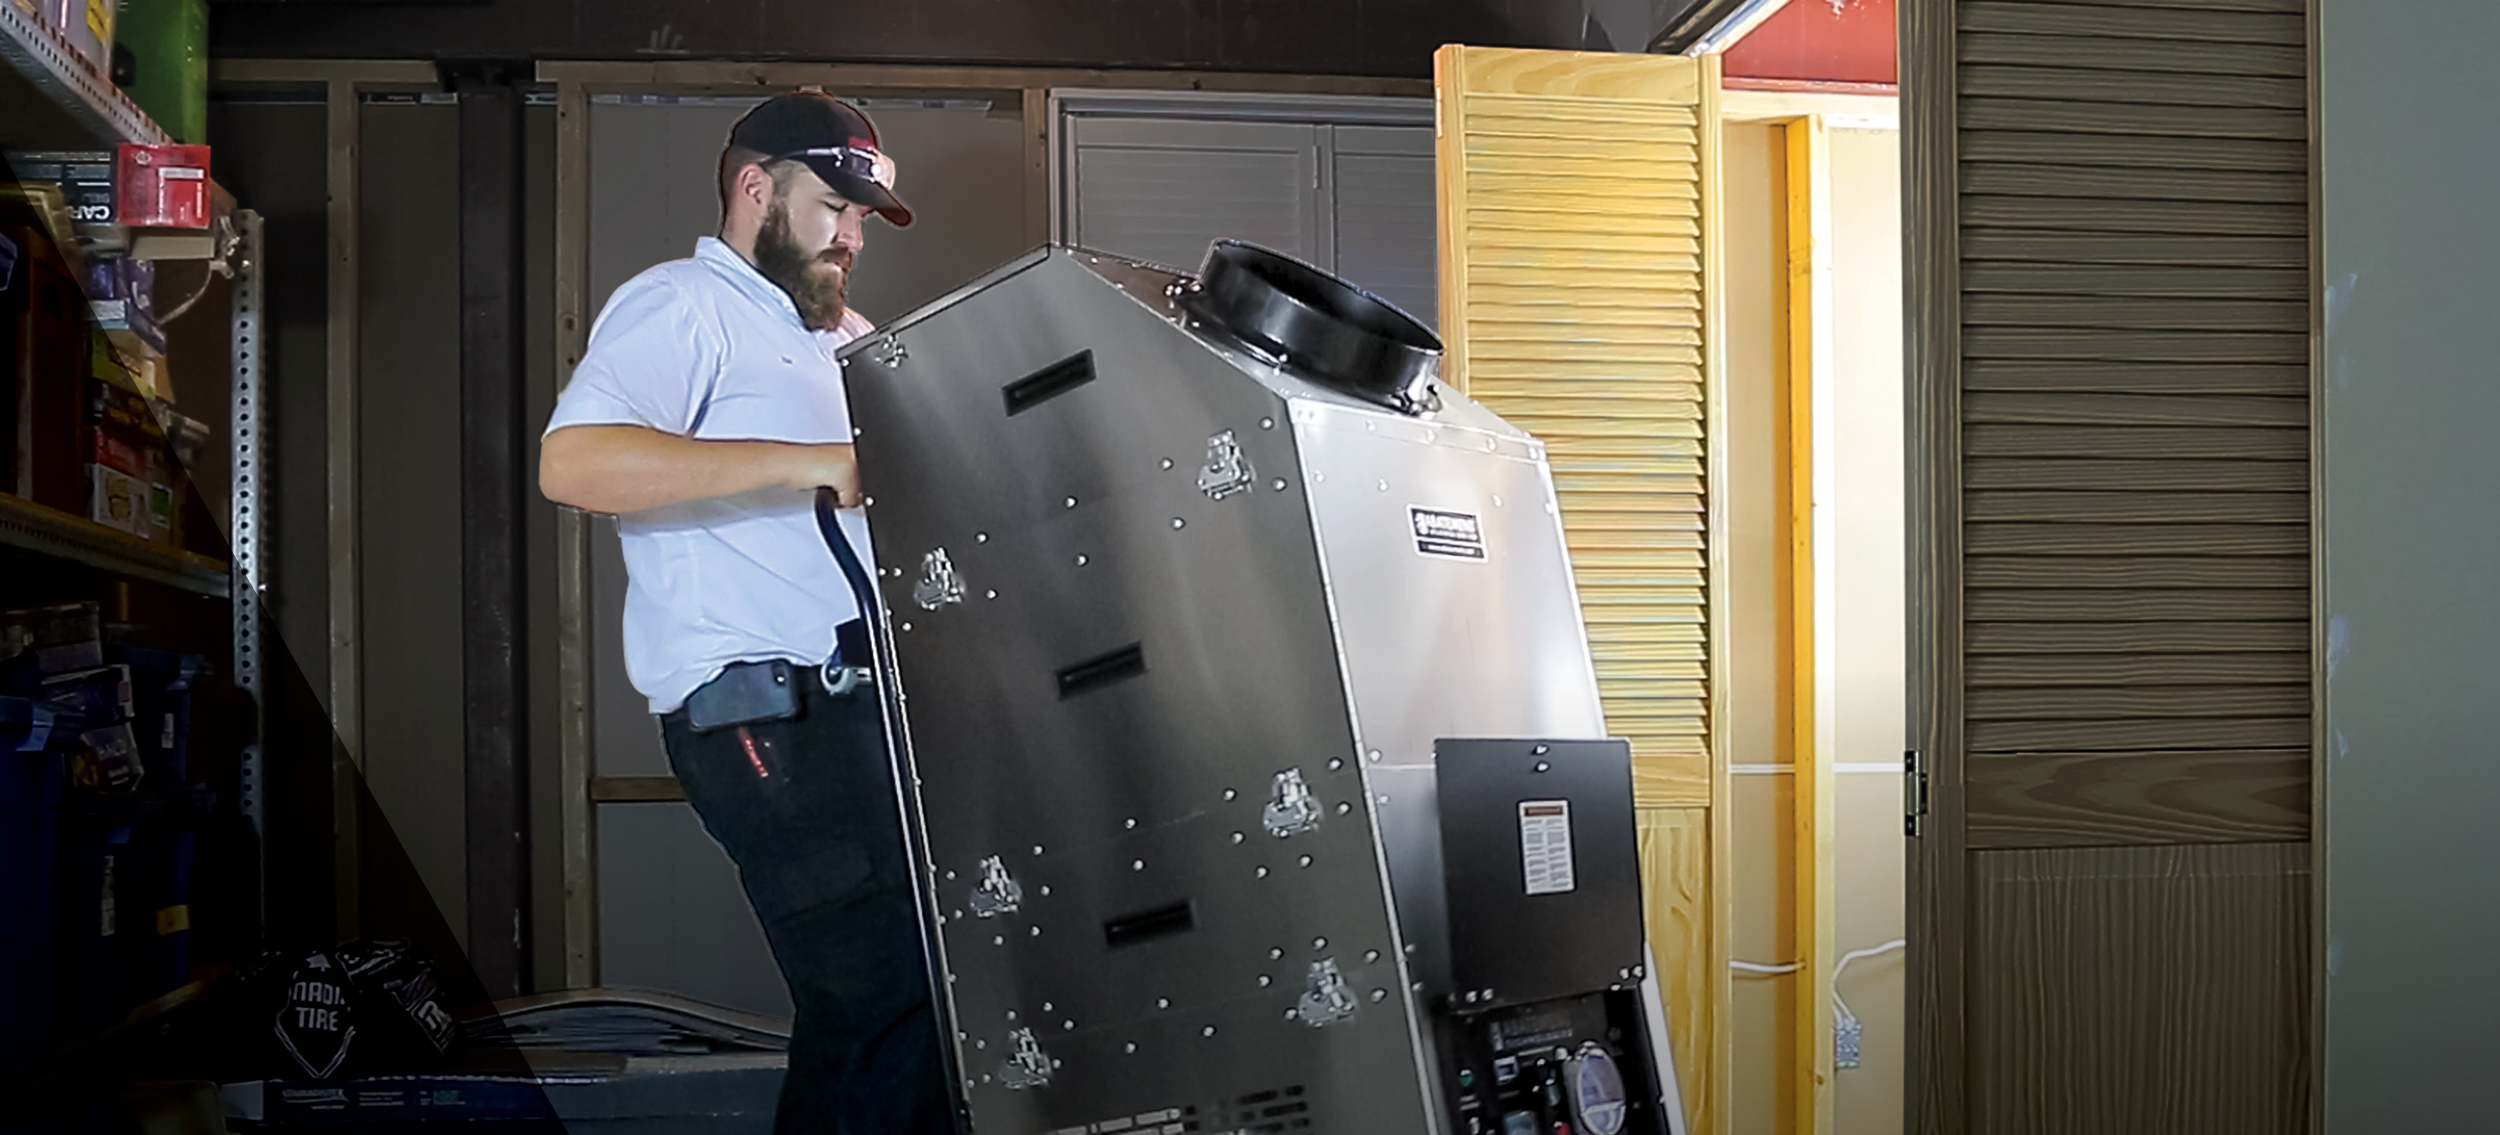
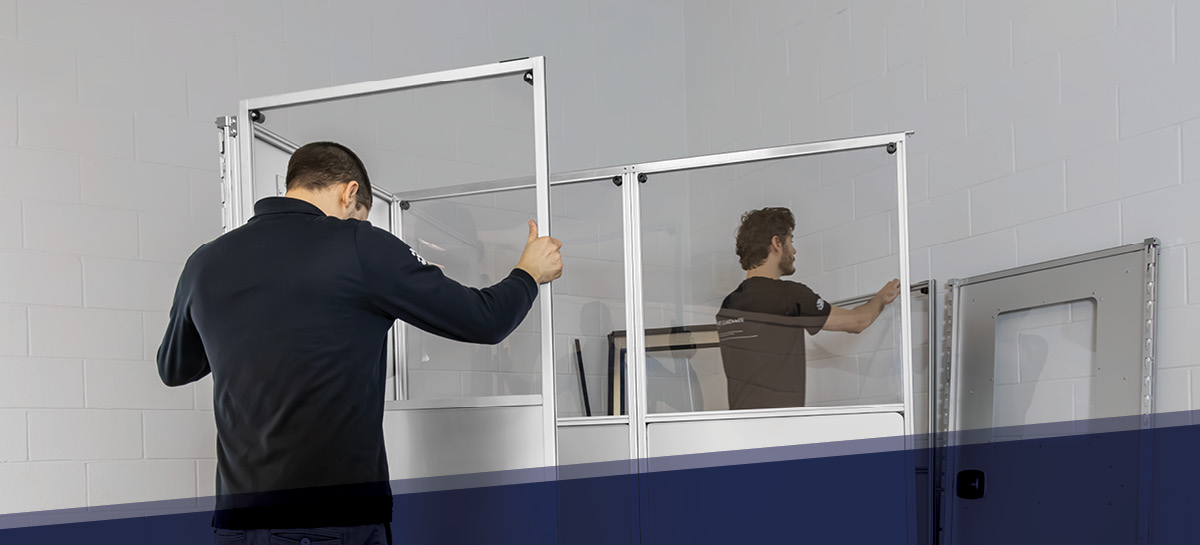
AG8000: The AG8000 is the largest most rugged mobile containment cart offered in the AIRE GUARDIAN® series, and was specifically created for contractors or maintenance teams working on projects in healthcare facilities. With its unique upper header design, the AG8000 can safely support a worker on a ladder, ensuring OSHA compliance and extending height access for contractors as they work above ceiling tiles. With the AG8000, contractors can easily work in the plenum, above the ceiling deck. With an optional extension, contractors can work on more ceiling tiles at a time with wider coverage (5 sqft).

The AG8000 can be used in a variety of construction and maintenance activities, such as: ceiling tile replacement, electrical wiring installation, HVAC equipment, ductwork, and much more. 

AG5000: The AG5000 was designed to be the perfect blend of durability and transportability. Since the cart is collapsible, it decreases the amount of storage needed between jobs, and makes it small enough to put in the bed of most standard size pickup trucks to move to and from the jobsite. Furthermore, due to the increased transportability of the AG5000, contractors have the flexibility to use the containment cart in job sites other than a hospital setting. 

Similar to the AG8000, the AG5000 is another hard-sided containment cart option. Not only are hard-sided containment carts more aesthetically pleasing, but they are also more durable and long lasting. Additionally, the hard-sided surface can comply with more hospital requirements. 

AG3000: The soft-sided AG3000 is a great economic containment cart option. Because of this lower price, customers frequently purchase this model in bulk to add to their fleets. This model is smaller than both the AG8000 and AG5000, which makes it even easier to transport. Additionally, this containment cart’s easy assembly and disassembly means it only requires one worker, which can cut down on labor costs.

Contain, Pressurize, Monitor 

When containment carts are used in conjunction with portable air scrubbers, a workspace can become a fortress under negative pressure. Negative pressure confines the harmful dust particles to the construction area, further ensuring that patient occupied spaces are not infiltrated. And, by leveraging a room pressure monitor, an optional accessory for each of Abatement Technologies’ containment cart models, contractors can ensure that the space remains under negative pressure for the duration of the project - preventing dust particles from escaping beyond the containment cart. 

Our Aire Guardians at Abatement Technologies specialize in assisting with dust control (ICRA) requirements for healthcare construction and renovation and can assist you in making the best product selections customized for the needs of your project. 

Ready to learn more about Abatement Technologies’ containment cart solutions? Contact us today!

4 FAQs About Temporary Containment Wall Systems

FAQ #1: What are temporary containment wall systems?

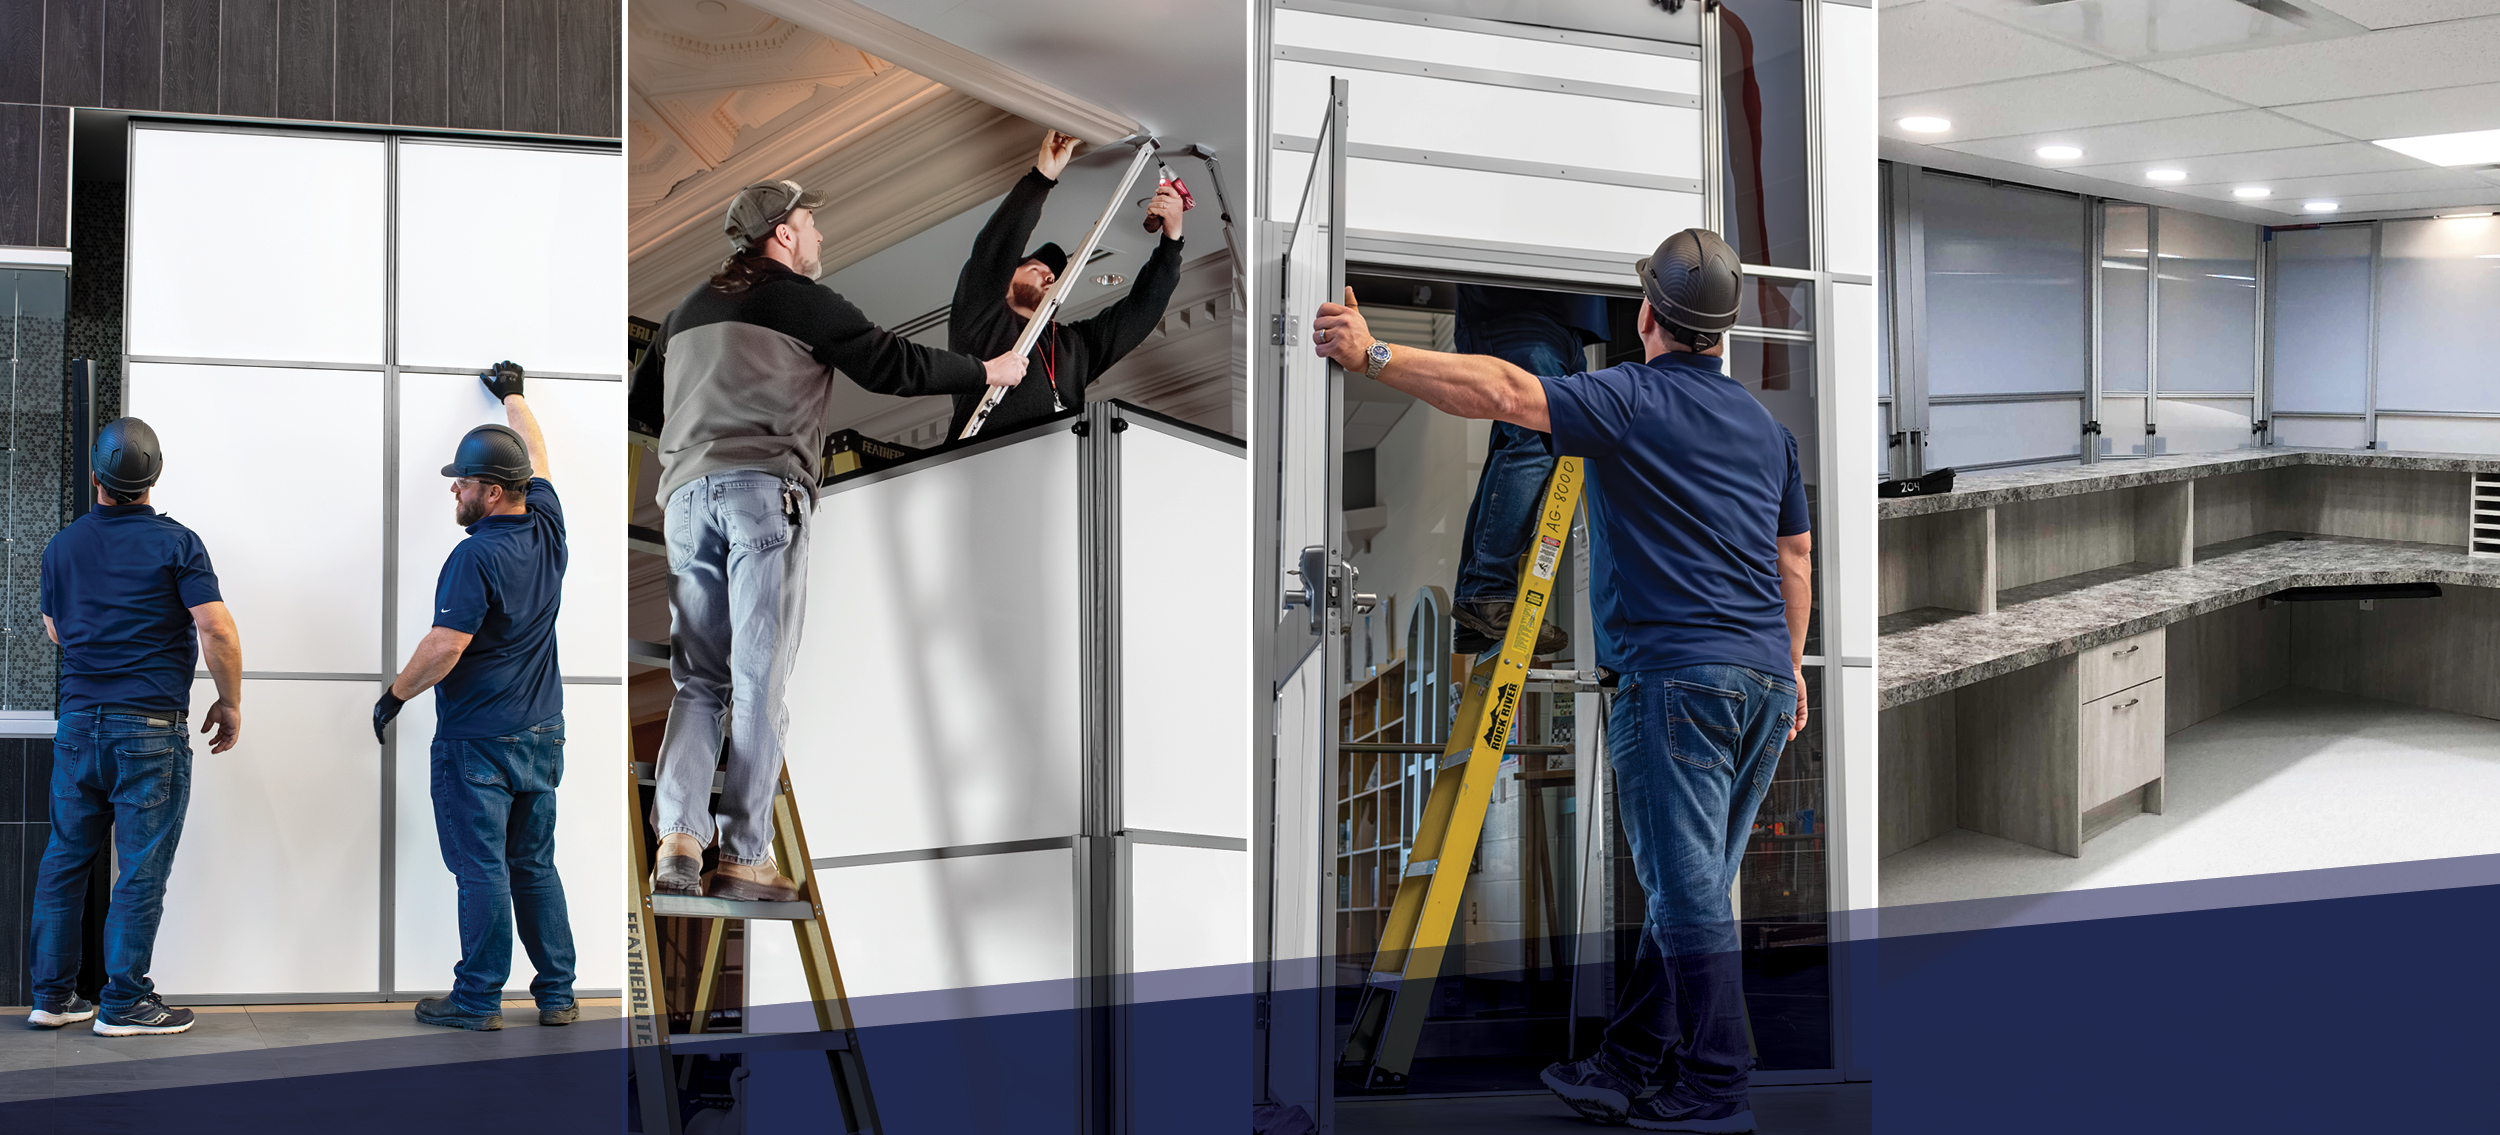
During construction projects, contractors can spend a lot of time and money building temporary containment walls to keep dust and harmful particulates from leaving the construction area. Like our solution, SHIELD WALL™, many temporary wall system panels are built on galvanized steel frames that provide extra durability for years of reuse. Unlike traditional drywall and poly sheeting methods, which are typically disposed of after each project, temporary wall systems help companies save money in as little as three uses depending on the scope of the project. But, it's not just reusability that makes temporary walls the best option for your project. Many walls on the market today provide additional protection like sound attenuation and fire ratings, but it's important to know what you really need to get the job done - Without over selling. 

If you’re new to our blog and would like more information on SHIELD WALL™ for construction containment, click here.

FAQ #2: Do I Need a Fire Rated Containment Wall System?

No. Contrary to popular belief, a cumbersome, heavy and expensive fire-rated wall is not always necessary. According to the National Fire Protection Association’s 241 guidelines, a non fire-rated temporary containment solution is permitted when there is a working sprinkler system in place. However, if the sprinkler system is deactivated or affected in any way, a fire watch protocol should be established until it’s operational again. That being said, it's important to be aware of the fire resistance of the product you are using. For instance, SHIELD WALL is ASTM E-84, NFPA Class A & IBC Class A.

When making your decision on the right materials for the job it’s important to understand your local regulations and reach out to experienced suppliers for detailed information on temporary panel usage.

FAQ #3: Do temporary containment walls block sound?

Yes, many temporary containment walls have sound attenuating capabilities. In fact, in critical environments, such as healthcare facilities, construction noise can be intolerable and disruptful to patients. To help, hospitals are starting to rely on reusable containment walls to reduce noise in occupied adjacent areas so that renovation projects aren’t disruptful to patients, employees, and customers alike. Afterall, a loud environment can be distressing for patients and can prevent them from getting the rest that is necessary for recovery. 

Additionally, in commercial spaces such as corporate offices, data centers, colleges and universities, airports and shopping centers, sound attenuation decreases disruptions, and allows for a “business as usual” atmosphere.. And as an added bonus, modular walls are more aesthetically pleasing than alternative solutions. With a professional, sleek appearance, modular wall systems give facilities the ability to conceal the construction area from occupied areas in a way that traditional methods often can’t support.

FAQ #4: What should I look for in a temporary wall provider?

It’s clear that modular wall containment systems have many advantages over traditional methods, such as drywall. Aside from providing sound attenuation and fire resistance capabilities, modular wall systems boast several benefits like cost effectiveness, ease of use, and sustainability. In order to find a solution best suited for your needs, it’s important to choose a solutions provider that can help you find the best financial route and provide guided buying expertise. By selecting a company that offers a consultative approach to sales, you can ensure that you’ll find  a long-term solution to your short-term projects.

Looking for more? Check out Reusable Modular Walls Are Becoming The New Standard

Managing IAQ in Commercial Building During Wildfire Season

Managing IAQ in Commercial Building During Wildfire Season

Topic: 2023 Central Canada Wildfires

The 2023 wildfire season is here and has already had a devastating impact across central Canada. As hazy and dangerous fumes make their way south across the US border, most of the Northeast coast is experiencing serious air quality issues that are affecting millions of people. And, because smoke is made up of a complex mixture of gasses and fine particulate matter, it is highly inhalable and can cause respiratory and cardiovascular health effects. 

But, when a smoke event occurs, it can take days to weeks for air quality to improve. If not properly addressed, smoke can get inside of buildings and negatively impact indoor air quality (IAQ).  Building owners and facility managers need to know the best practices for reducing exposure to smoke inside offices, schools, and housing facilities.

Facts about IAQ

Outdoor air, including the fine particles from wildfire smoke, can enter a building in a few ways, including: 

- Natural Ventilation: Open windows and doors

- Mechanical Ventilation: Bathroom fans, kitchen fans, and HVAC systems with fresh air intake 

- Infiltration: Openings, joints, cracks

When smoke events occur, local and state health departments may issue air quality alerts notifications when specific actions are needed to protect the public. Building managers should use these notifications to know when to initiate mitigation measures in their smoke readiness plan, which should include these steps: 

1. Evaluate the HVAC Systems

To minimize occupant exposures and health impacts from smoke during wildfire events, facilities should first address any issues with their existing HVAC systems. In buildings where the HVAC system uses air-handling units that bring outside air into buildings or recirculate indoor air, facility owners and managers should follow a planning framework, like the guidelines set by the American Society of Heating, Refrigerating, and Air Conditioning Engineers (ASHRAE).  This includes: 

- Performing maintenance on HVAC

- Upgrading filters

- Optimize system airflows 

- Adding supplemental filtration 

- Limiting areas for smoke intrusion 

- Adding the ability to monitor particulate matter

- Assessing how to create cleaner air

2. Stock up on portable air scrubbers

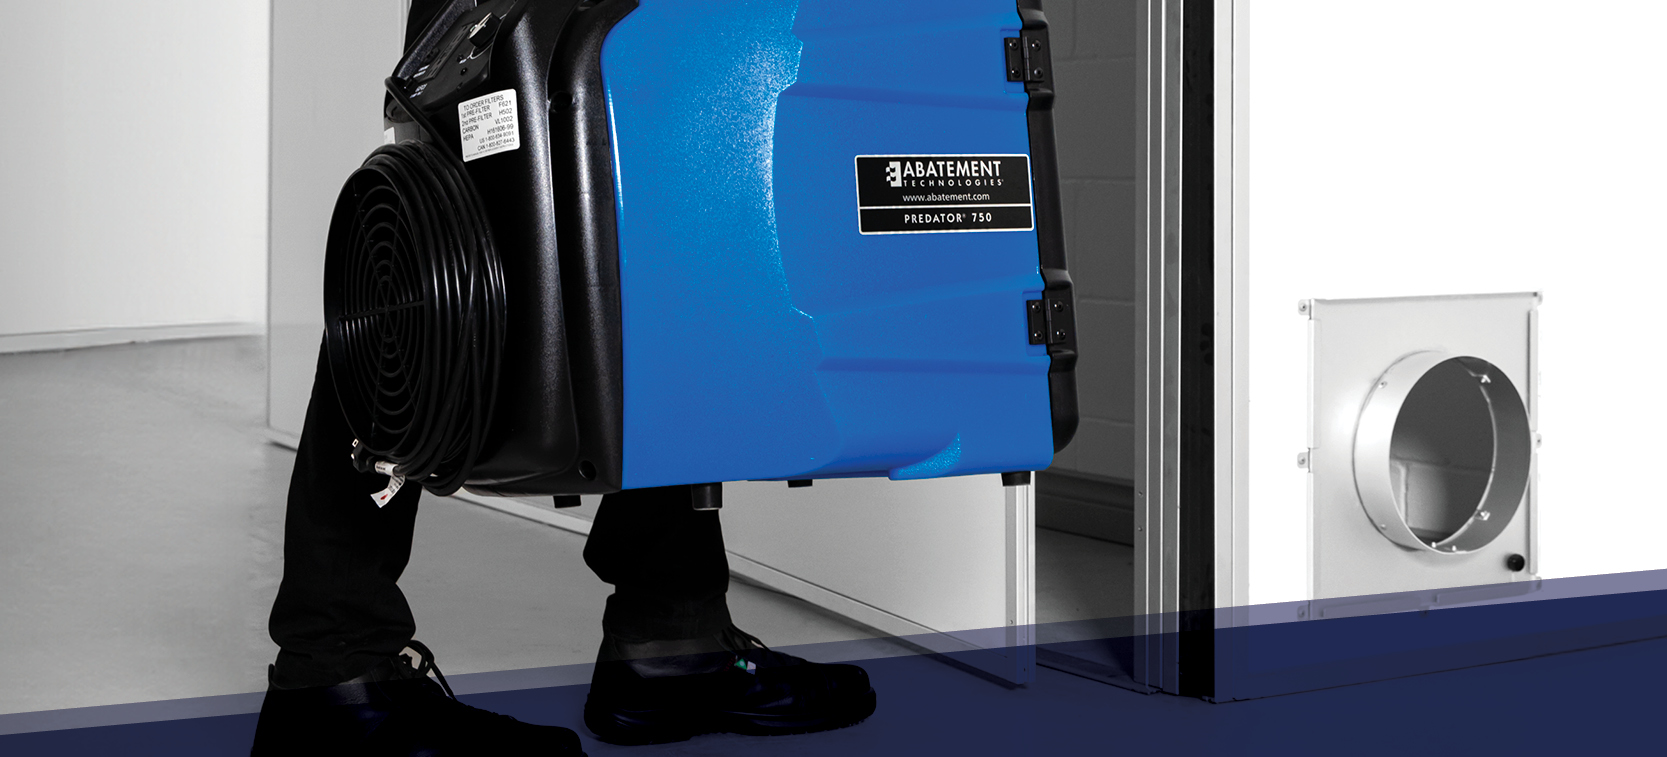
Additionally, those in areas prone to fires may consider purchasing equipment to improve IAQ during the duration of a smoke event. Portable air scrubbers, like  our PRED750, are self-contained air filtration devices that can be used alone or with central air filtration to effectively remove harmful particles from the air.The portable air scrubber should be equipped with a high-efficiency HEPA filter and be the right size for the room. It’s important to secure these crucial devices before a fire occurs in order to act quickly during a smoke event. In the event of emergencies, it’s important to find an air scrubber supplier that has the ability to ship orders as quickly as possible.

3. Choose the right filter 

Some air scrubbers are compatible with activated carbon filters.These filters are available for  all of Abatement Technologies’ HEPA-filtered equipment, including the PRED750 mentioned above. Activated carbon is a unique material that is often used to remove volatile organic compounds (VOCs), odor, and other pollutants from the air, making it the optimal solution for smoke filtration. The benefits of activated carbon filters include their ability to adsorb a variety of vapor contaminants, organic molecules (especially solvents), and chemicals, as well as their large capacity to catalytically destroy ozone, a major component of smog. 

In addition to smoke, Abatement Technologies’ portable air scrubbers and carbon filters have been used to filter out a number of odors from buildings including chemicals, cleaning solvents, mildew, mold, and biohazards. 

Want to learn more about how Abatement Technologies can help protect your building during wildfire smoke events? Get in touch with one of our Aire Guardian experts.

How to clean, decontaminate, and disassemble Abatement Technologies’ SHIELD WALL™

How to clean, decontaminate, and disassemble Abatement Technologies’ SHIELD WALL™

Our SHIELD WALL™ systems are designed for use in critical environments where pathogens are in no short supply. Therefore, when you’re done with a job using SHIELD WALL™, you’ll want to thoroughly disinfect them before storing and reusing them.

In this blog, we’ll walk you through the basic steps of decontaminating SHIELD WALL™. 

What you’ll need:

- HEPA Vacuum

- Paper towels

- Water-based disinfectant

- Gloves

- Mask

- Bucket

- Diluted bleach

- Polyethylene sheet

- Modular containment wall transport cart

How often should you clean your SHIELD WALL?

Cleaning the SHIELD WALL™ involves regular disinfecting while in use and decontamination before transportation. 

While on the job site, you’ll want to regularly disinfect the surfaces with a hospital-approved disinfectant, as outlined in step two below. Different facilities will have unique cleaning schedules and requirements, so be sure to check with the facility you’re working in at the start of a project. 

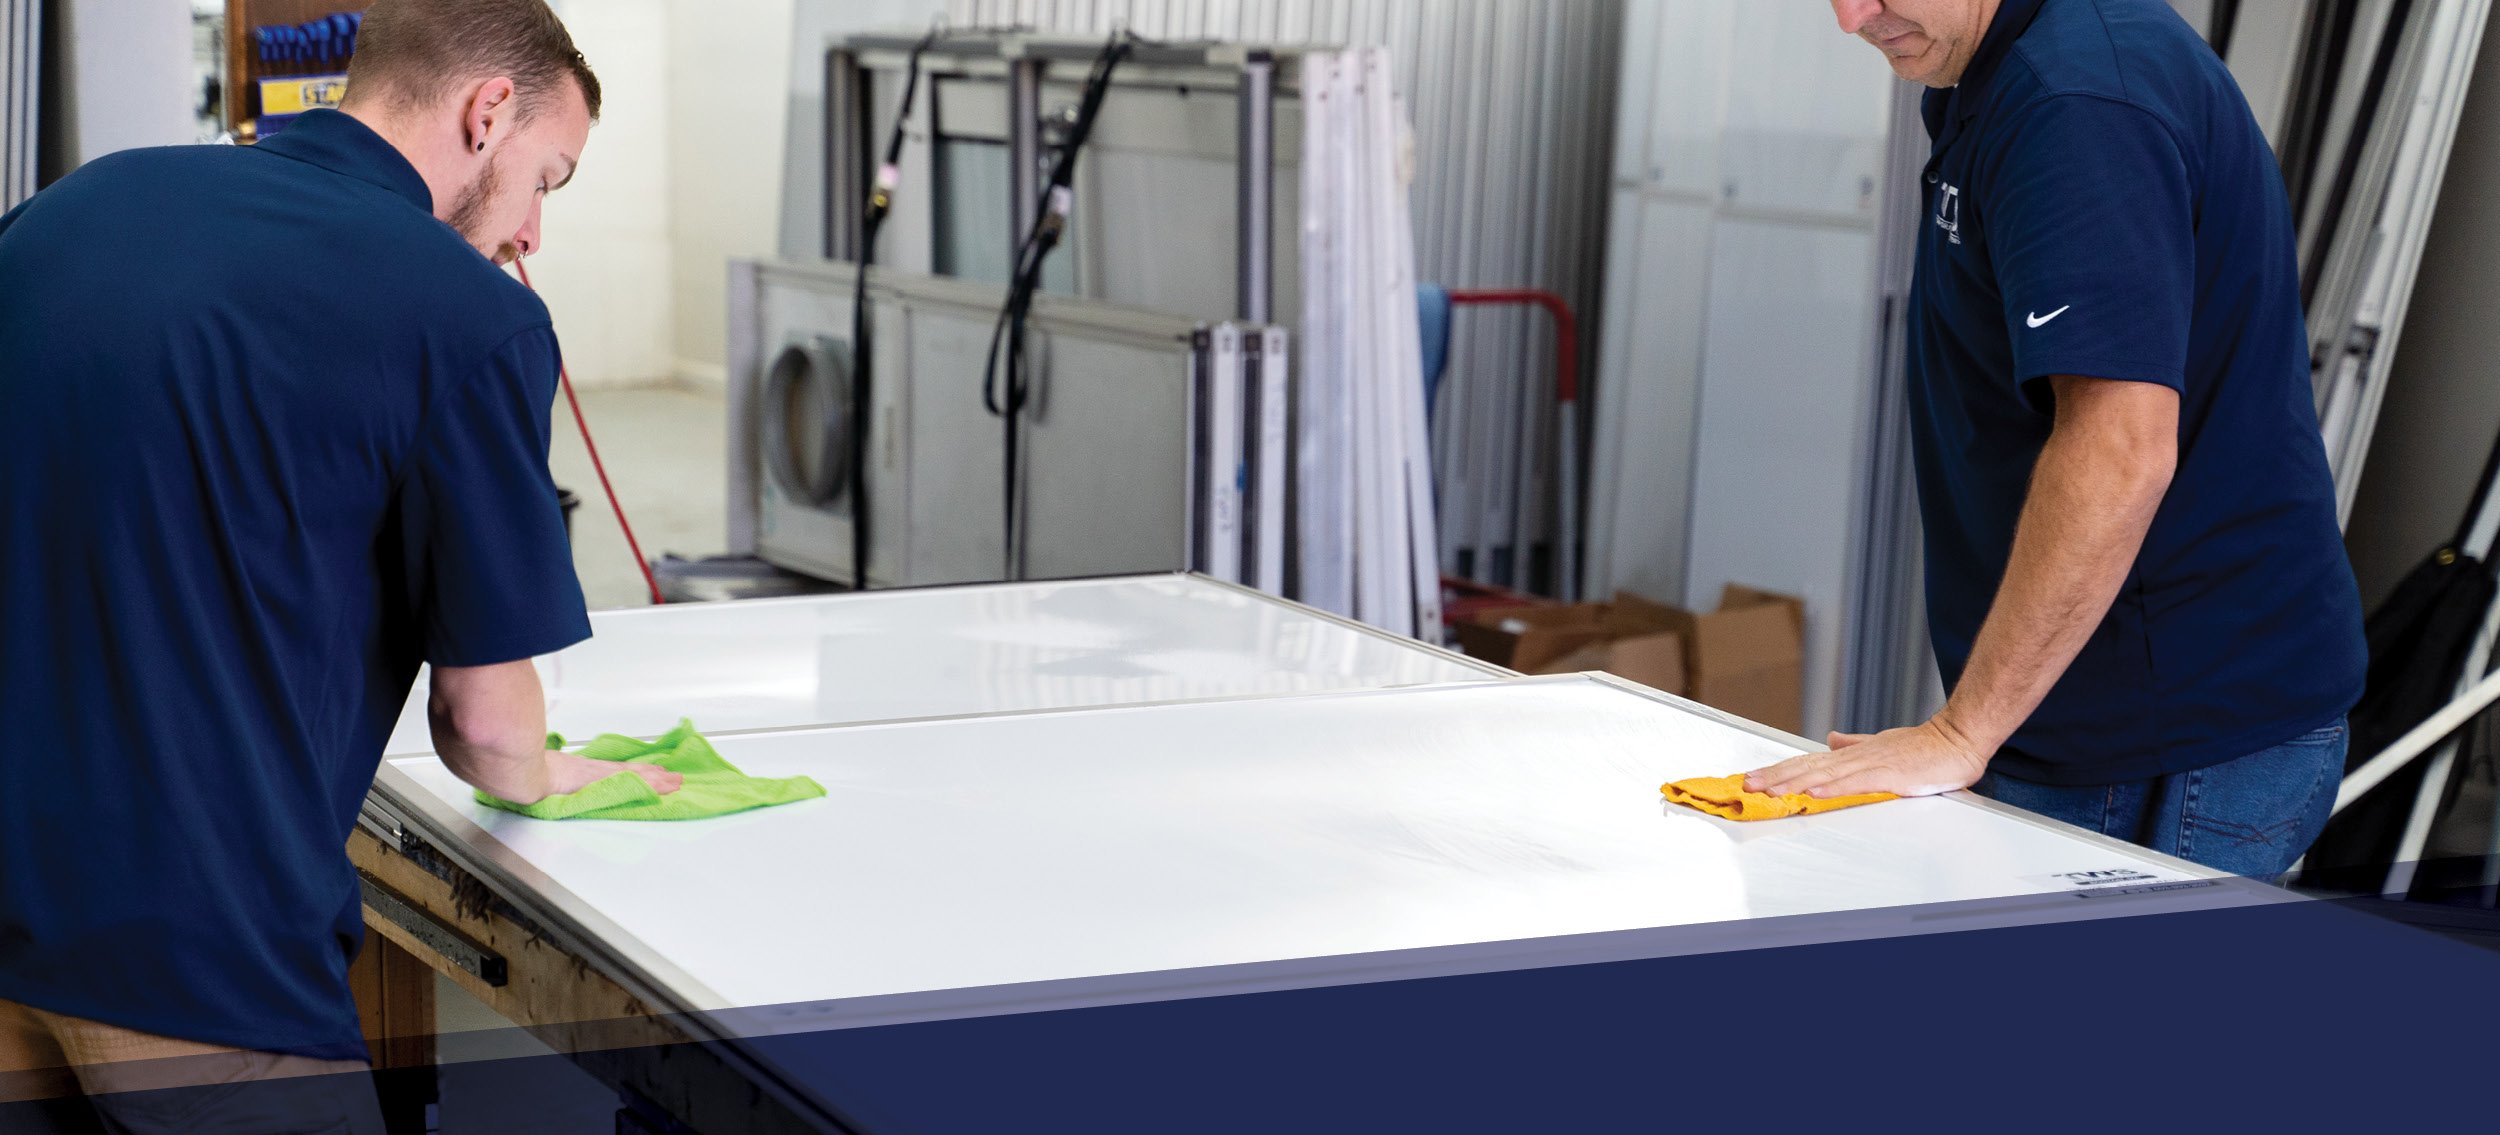
Second, you’ll want to decontaminate the walls anytime you’re transporting them to or from a new facility. In most cases, this is a two-step process. Ideally, you’ll begin the process while on the job site and finish the decontamination when back at your storage site. For this, you’ll follow all ten steps outlined below, as well as in the video.

The steps to clean SHIELD WALL™ 

Before transport from a job-site

  1. Vacuum the interior and exterior of the walls from the top down with a certified HEPA vacuum
  2. Wipe down all surfaces with a one-step surface cleaner and disinfectant that’s approved by the facility
  3. Disassemble the modular containment walls
  4. Place panels on an Abatement Technologies transport cart and secure them to prevent movement during transportation
  5. Cover with a polyethylene sheet for transportation

Once back at the storage location

  1. Raise panels to full height
  2. Wipe down corners, sweep, frame, and extrusion
  3. Submerge brackets and small hardware in a bucket of diluted bleach
  4. Dry all parts
  5. Place the panels and parts back on the transport cart, secure them, and cover them with a polyethylene sheet until it is time to use them again

Tips

Wear gloves: When working with bleach, even diluted bleach, wearing gloves is recommended to protect your skin. 

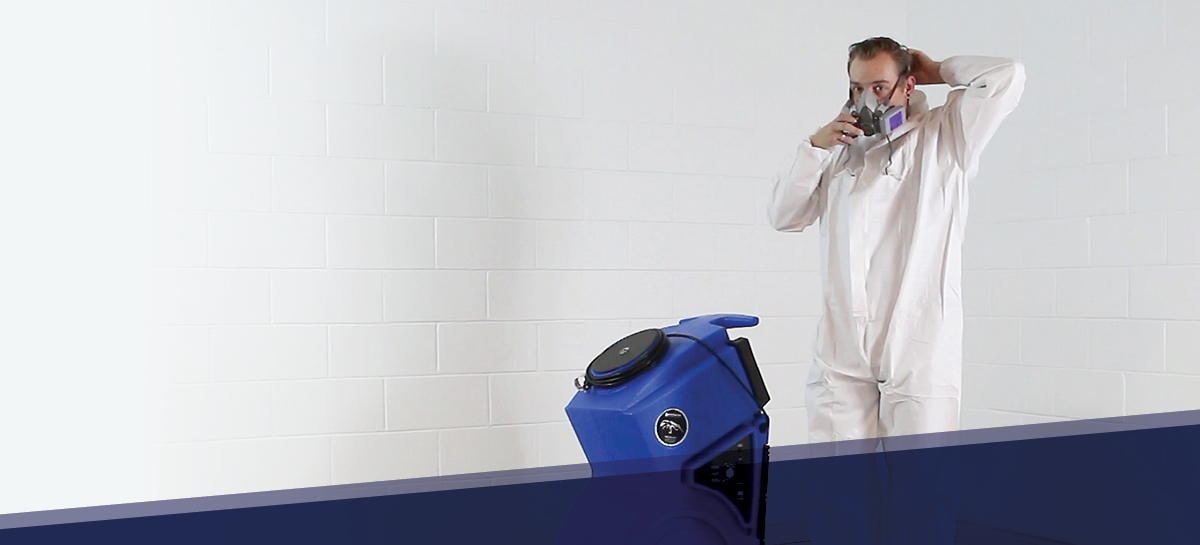
Wear a mask: Between working with bleach and working in critical environments, it’s helpful to wear a mask during the decontamination process to keep yourself safe. 

Check with the facility for any regulations regarding cleaning products and the cleaning schedule

Want to learn more about SHIELD WALL?

If you’re new to modular containment walls and want to learn more about how they can help you on your next job, we’d love to help. You can check the product details here or set up a consultation with one of our experts today. 

The Tools for Asbestos Abatement

The Tools for Asbestos Abatement

With federal and state laws in place, the use of asbestos in products and materials is restricted in the United States, but not banned. Canada, however, has regulations in place that prohibit the import, sale, and use of asbestos and products containing the dangerous carcinogen. However, this wasn’t always the case. Prior to its close in 1990, much of the world’s supply of vermiculite came from a mine in Montana. Unfortunately, the mine also contained a natural deposit of asbestos, which contaminated the vermiculite product. Materials like drywall, flooring, ceilings, cement, and insulation were produced using vermiculite from the mine, which was primarily sold as insulation in Canada under the trademarked name “zonolite.” 

The risks of asbestos

But, what’s the risk of vermiculite containing asbestos? The inhalation of asbestos has been proven to cause lung cancer and other severe respiratory diseases. Because of this risk, the removal or disturbance of asbestos should be performed with the proper precautions and equipment. Proper sampling, testing, and removal procedures are essential to identify and safely mitigate the hazard associated with asbestos in buildings.

Experts and their techniques for asbestos removal

Asbestos testing requires expertise. This is not a DIY project. Professionals will come prepared with an air purifying respirator equipped with HEPA-filtered cartridges to wear during sampling, along with safety glasses. A respirator is recommended by both the U.S. EPA and Health Canada as best practice to reduce the amount of dust inhaled during collection. 

Once asbestos has been tested and identified in a material, it’s important to begin the abatement process. The Ontario Regulation for Designated Substances (Reg. 278/05) classifies asbestos removal based on the severity of the risk - Type 1 (Low Risk), Type 2 (Medium Risk), and Type 3 (High Risk). When the risk is low, the size of the contaminated area is between 1 and 10 sq ft, and the material is non-friable asbestos-containing material (ACM), meaning it is being held together by a bonding agent. In a Type 2 abatement, the contaminated area is between 11 and 100 sq ft, and is friable ACM, meaning it is easily crumbled and breaks apart with touch. A Type 3 abatement operation means the contained area is over 100 sq ft and contains both friable and non-friable ACM. A Type 3 operation, involves the removal or disturbance of more than one square meter of friable ACM during the repair, alternation, maintenance or demolition of a building. 

Tools of the trade

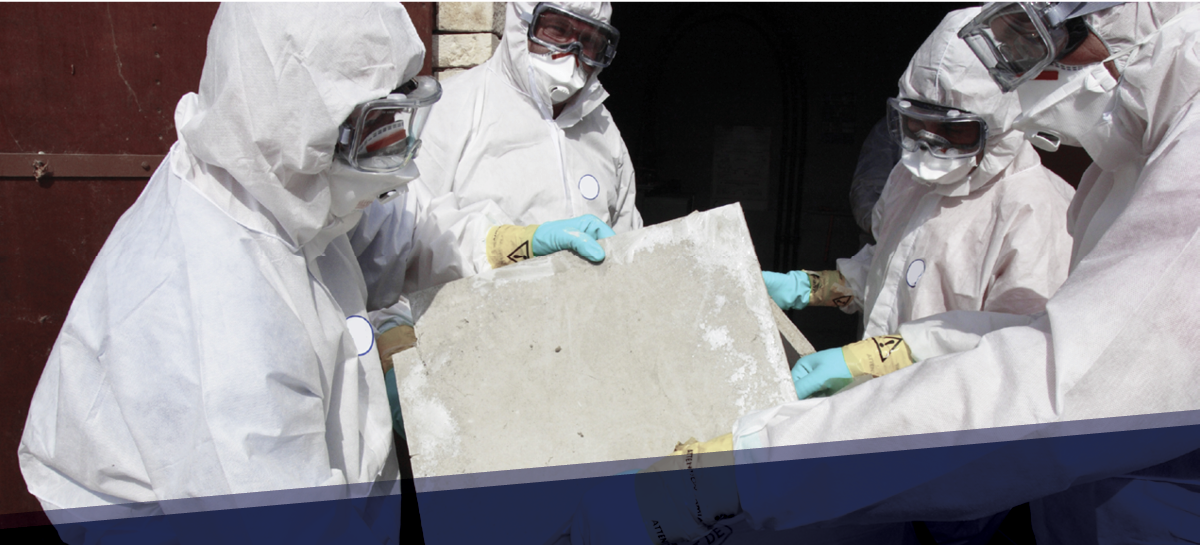
Type 2 and Type 3 abatement require professionals to wear the proper respirator as well as PPE equipment like disposable coveralls to prevent entry of dust. A trained professional will not only know the measures to protect themselves, but others around them. These measures include the isolation of the entire area using temporary containment barriers like Abatement Technologies SHIELD WALL™

Additionally, during these types of abatement, it's important to use a HEPA filtered vacuum extraction system, like our HEPA vacuums to clean up asbestos dust throughout the project, avoiding particulates and carcinogens being left behind after a project. A vacuum extraction system offers the benefit of adding an engineering control of increased negative draw of air at the point of disturbance. This decreases the exposure to the worker as opposed to other methods which may increase the airborne concentration within the asbestos work area.

Want to learn more about the solutions we have available for asbestos abatement professionals? Click here

The Basics of Respirator Fit Testing

In this blog, we break down when you should fit test respirators, the difference between qualitative and quantitative fit testing, as well as how to choose which test is right for your respirator. 

No matter how advanced a face respirator is, if it doesn’t fit right, it won’t protect the wearer. That’s why fit testing is essential.

In the US, the Occupational Safety and Health Administration (OSHA) requires fit testing before using a mandatory respirator for the first time and annually after that. The rules are similar in Canada. According to the Canadian Standards Association (CSA) and Ontario’s Occupational Health and Safety Act (OHSA), workers whose jobs require them to wear a respirator must complete fit testing before their first use.

Additionally, they must complete a fit test: 

- At least every two years, according to the CSA (Z94.9.1.6)

- After significant weight gain or loss, surgery, major dental work, or other physical changes that could affect a respirator’s fit

- When changing to a new respirator make or model

Qualitative vs. Quantitative fit testing

There are two types of fit testing: qualitative and quantitative. Qualitative fit testing is a subjective test that relies on the wearer's sense of taste or smell to determine if the respirator fits properly. This type of testing is a simple pass-or-fail method that does not measure the extent of leakage. OSHA accepts four methods for qualitative fit testing: isoamyl acetate (banana oil test), saccharin, Bitrex, and irritant smoke. 

Quantitative fit testing, on the other hand, is a more objective and precise method of testing the fit of a respirator. This type of testing uses specialized equipment to measure the amount of leakage around the respirator's seal. Quantitative fit testing requires a controlled environment and trained personnel to administer the test. The three OSHA-accepted methods for quantitative fit testing are generated aerosol, ambient aerosol, and controlled negative pressure. 

Should you use qualitative or quantitative fit testing?

Wondering which method of fit testing is best? The quick answer is: it depends.

Qualitative fit testing may be used for negative pressure respirators, such as N95 masks if they are being used in environments less than 10 times the permissible exposure limit (PEL). If contractors are using negative pressure respirators in environments above 10 times the PEL, they must use qualitative fit testing. 

For positive pressure respirators, either qualitative or quantitative testing will work. That is because positive pressure respirators supply their own air, and thus can overcome minor leaks. 

How to conduct qualitative fit testing

To perform qualitative fit testing, the wearer must put the respirator on and adjust it to fit their face. The test administrator will then instruct the wearer to perform a series of exercises, such as talking, nodding, and moving their head from side to side, simulating normal workplace movements.

During the test, the administrator will introduce an irritant to the environment, such as banana oil, Bitrex, saccharin, or smoke, and ask the wearer to indicate if they can taste or smell the test agent. The test administrator will also visually inspect the respirator for any leaks or gaps. If the wearer can taste or smell the test agent, or if there are visible leaks, the respirator does not fit properly and should be adjusted or replaced.

Qualitative fit testing is a simple and cost-effective way to determine if a respirator fits properly. However, it is not as precise as quantitative fit testing is more precise and may not detect all leaks or fit issues. 

How to perform quantitative fit testing

To perform quantitative fit testing, the wearer must properly put on the respirator and adjust it to fit their face. The test administrator will then use specialized equipment to measure leakage around the respirator's seal.

The equipment used for quantitative fit testing typically includes a probe placed against the wearer's face near the respirator's seal. The probe is attached to a special filter adapter, which then passes through the respirator to sample the air inside of the mask... As in qualitative testing, the wearer will be instructed to perform a series of exercises, such as talking, nodding, and moving their head from side to side to simulate workplace movements.

The test results are then compared to the manufacturer's fit factor, which measures the respirator's effectiveness. If the fit factor is within the acceptable range, the respirator fits properly. If the fit factor is outside of the acceptable range, the respirator does not fit properly and should be adjusted or replaced.

Quantitative fit testing is a more precise and accurate method of testing the fit of a respirator. However, it requires specialized equipment and trained personnel to administer the test. It is recommended that quantitative fit testing be performed whenever a new respirator is used, or when there are changes to the wearer's facial structure.

Get the most out of your respirator

Whether it’s qualitative or quantitative fit testing that you need, be sure to stay up to date with fit testing requirements for your respirator. Doing so not only ensures compliance but will help you stay safe amid a variety of work environments.

Find our respirators here. 

Winter Maintenance Guide: Frozen pipes

A Winter Maintenance Guide to Preventing Frozen Pipes 

As the weather gets more frigid with each passing day in many parts of the world, it's important to be prepared for freezing temperatures. Frozen pipes are notoriously known to cause a significant amount of damage every year, and can result in thousands of dollars in damages if not handled correctly. When water freezes and expands, pressure builds, and vulnerable pipes are likely to burst. The smallest crack in a pipe can spew hundreds of gallons of water, resulting in flooding, mold, and structural damage. Unlike winter storms, bursting pipes are largely preventable with the right preparation. Here are a few tips on how to prevent frozen pipes, how to thaw frozen pipes before they burst, and how to avoid water damage before it’s too late:

Preventing Frozen Pipes

When temperatures drop below -6° C for at least six consecutive hours, pipes are at a risk of freezing. In order to mitigate the risk, it’s crucial to consider the following:

Insulate pipes: Pipes that are exposed, pipes that run through exterior walls, and pipes that are located in unheated crawl spaces, attics, and basements are all highly susceptible to freezing. To build thermal protection around pipes, it’s important to use materials like tubular foam, pipe wrap, and heat cable to raise water temperatures by -15.56° C.    

Seal leaks: Air leaks around electrical wiring and vents allow frigid temperatures to make their way around vulnerable pipes. Look for cracks around the building and tightly seal with caulk, weatherstripping, or additional insulation materials to keep cold air outside.

Keep consistent temperatures: Thermostats should be kept at a consistent temperature throughout the day and night. Dropping the temperature indoors at night may offer a lower heating bill, but adjusting below 12.78° C during extreme cold can cause a devastating strain on both pipes and furnaces.   

Thawing Frozen Pipes

If only a few drops of water trickle out of a faucet when it’s freezing outside, there’s a good chance the pipes are frozen. In this stage, it’s not too late to take action before they burst:  

Apply heat: Slowly apply heat using an electrical heating pad, a space heater, or hot towels. Be cautious of using appliances in areas of standing water to avoid electrocution. Start by warming the pipe as close to the faucet as possible, gradually moving towards the coldest portion of the pipe.   

Keep water running: While treating the pipes, keep faucets turned on to allow a consistent flow of water. As the frozen area begins to melt, running water will assist in preventing pressure buildup and blockages that can cause a burst. 

Check all faucets: If one pipe is frozen, it’s likely not an isolated situation. Check all faucets around the building for dripping water and repeat the heating process until all water pressure is restored.  

After Pipes Burst

When frozen pipes go undetected and untreated, ice blockages will likely cause pipes to burst. After the burst occurs, it’s critical to take immediate action. 

Contact a water restoration expert: When it comes to mold and bacteria, time is the enemy. Everything that comes into contact with water must be properly dried, cleaned and disinfected within 48 hours to avoid residual damage. Trained professionals know the quickest, safest, most efficient ways to salvage the building and its contents by measuring and recording temperature, moisture, and humidity.  

Shut off water: Locate the main water supply and shut it off to stop the heavy flow of water. Leave faucets on to relieve the pipe of remaining pressure and cold water. If the leak occurred near any electrical sockets or fuse boxes, it’s crucial to turn electricity off.  

Remove standing water: The longer water stays in the building, the higher potential for mold and mildew issues. Remove as much water and moisture from the area as possible, while waiting for the experts, using a durable dehumidifier and high-speed air mover. Carpeting, drywall, rugs, cloth, and other porous materials are the most vulnerable to damage.

This year, Canada’s winter season is predicted to consist of below-average temperatures and above-average snowfall. Blizzards, sleet, and freezing rain wreak havoc on vulnerable buildings from early December to late February, so the time to prepare is now. By prepping your building’s danger zones for the frigid, unpredictable weather to come, property costs and risks can be kept to a minimum. 

But if disaster does strike, check out our blog on Disaster Restoration Solutions.

Winterization checklist: How to prepare your building for winter

Winterization checklist: How to prepare your building for winter

Avoid property damage with these quick tips

Winters in Canada and the northern U.S. are notoriously harsh. Each year, piled-up snow and ice damages roofs, and frozen pipes burst to wreak havoc on structures of all shapes and sizes. While winter storms are outside your control, preparing for them is not. 

Here are some quick tips to prepare your building for winter. 

Prevent Plumbing and Pipe Problems

One of the main threats that cold weather poses to buildings is frozen pipes. When pipes freeze, they burst, and the ensuing water damage can lead to mold growth, structural damage, and significant repair costs. Here’s what you can do to prepare:

  1. Keep inside temperature above 55F/12C to prevent freezing
  2. Check pipes for any air leaks
  3. If pipes are in non-insulated or non-heated areas, consider wrapping pipes in insulation to prevent freezing

Additionally, it’s best to expect the unexpected and prepare for the worst. In this case, that means having equipment on hand to handle flooding. When a pipe bursts and water spills into your building, the clock immediately begins ticking. Mold can form in just 24-72 hours. If you don’t have equipment on hand, you’ll be asking how to get rid of mold rather than how to prevent it. 

Here are some items you’ll want to have around in the case of a burst pipe:

  1. Air movers, such as the RAPTOR® RAM1000 Centrifugal Air Mover
  2. Dehumidifiers, such as the AQUATRAP® AT150RS LGR Dehumidifier

When flooding occurs, use air movers to dry the building and dehumidifiers to capture and remove the moisture in the air. 

Secure your Structure

Though snow may look light and fluffy when it’s falling, anyone who has shoveled snow knows that fluffy snowflakes accumulate into dense snow packs. While snow piling on your driveway may be little more than an annual inconvenience, snow piling on roofs can cause severe structural damage. 

The most dramatic example of structural damage from snow is roofs caving in. But this isn’t the only, or the most common, way that snow and ice on roofs can cause damage. The more common threat to structures from snow buildup is water damage. Snowmelt on roofs can leak into attics and cause mold growth. This can happen when shingles are missing or broken on the roofs, allowing water to seep through. 

Additionally, ice dams forming around gutters are a major concern. Like caved-in roofs, falling icicles causing serious injury or death to passersby are a dramatic example. More commonly, these icicles grow in size and weight, putting strain on gutters and causing them to break. When this happens, the falling gutters and ice can damage the rest of your structure and make exposed portions of the structure liable to water damage. 

Here’s what you can do to protect your roof from snow and ice:

  1. Clean the gutters, removing any leaves, debris, snow, or ice
  2. Inspect the roof, looking for missing or broken shingles
  3. Install heated cabling to warm your roof and prevent snow buildup

Have your HVAC’s Back

Your HVAC system has your back all year, keeping you cool in the summer and cozy in the winter. The least you can do is ensure it’s set up for success going into winter. As you put more strain on your HVAC system to heat your building throughout the cold winter months, here are a few things you can do to have its back:

  1. Change the filters
  2. Empty condensation traps
  3. Inspect the system for any blockages

Win with Winterization

At times, winter can feel like a primal battle between you and the elements. You never know what winter will throw at you, but by preparing for the worst, you set yourself up for success no matter what winter holds. This winter, be ready for anything with Abatement Technologies equipment at your disposal and win the battle against winter.

What to do When Flooding Occurs in a Hospital

What to do When Flooding Occurs in a Hospital

Hospitals, like all buildings, are subject to maintenance, repair, and restoration needs, sometimes at a moment's notice. Few building emergencies are worse than flooding. Whether it’s natural disasters flooding from heavy rain and hurricanes, or floods from equipment failure like burst pipes, floods are an emergency that can keep building managers up at night. This is perhaps more so in hospitals where increased regulations and patient safety concerns are cause for special precautions. 

Protecting Patients

When flooding occurs in a hospital and remediation is required, the number one priority is to protect patients throughout the process. After all, patients come to hospitals to be cured, not put in harm's way. In the case of hospital construction, maintenance, or restoration, one of the first steps is to construct containment walls around the affected area. Like isolating a patient, construction areas need isolation, too. With flooding, contractors need to contain the affected area to stop the spread of mold into adjacent spaces. In many cases, poly sheeting will be used to create a containment space. In high risk environments and larger disaster areas, drywall may be required. 

Once the containment is in place contractors create a negative pressure environment using HEPA-filtered negative air machines or portable air scrubbers. Creating a negative pressure environment helps ensure that unfiltered air inside the containment area does not leak out. The HEPA-filtered negative air machines and portable air scrubbers draw contaminated air in, filter the air, and then exhaust the filtered air out of the containment area through ductwork. Federal, state, provincial, local, and facility regulations will determine whether HEPA air can be discharged inside or whether it needs to be directed outside. 

Acting Fast

In cases of flooding, acting fast is imperative. Mold grows in 24-72 hours, and the longer a building stays wet, the longer mold has to grow. Once mold grows, it becomes much more difficult to get rid of and can be a health risk. Therefore, remediation teams must act fast. However, constructing traditional walls can take days. That’s where the SHIELD WALL® comes in. Unlike traditional walls, these lightweight polycarbonate walls are easy to transport and can be set up by a small team in a matter of hours, not days, allowing remediation teams to quickly get to work.

Reducing Waste

In an emergency, it’s a natural human instinct to get the job done as quickly as possible. One might choose to use whatever materials are readily available, which might not be the most financially conscious or sustainable route. Using single-use solutions only adds more to the financial burden. When hospitals construct temporary drywall walls to contain construction and remediation areas, the walls are discarded afterward. With skyrocketing lumber prices, this is an excess cost that adds up over time. With reusable containment walls, like the SHIELD WALL® System, companies can reuse the same containment walls for years in a row, saving money and promoting more sustainable business practices. 

Hospital Flood Abatement: A Case Study

Curious about what this looks like in real life? Request a case study below to learn how Northern Manitoba Regional Health protected patients, acted fast, and reduced waste by using the SHIELD WALL® System when a pipe burst overnight, dumping 70,000 gallons of water into a mechanical room and operating room. 

5 Years Later – How Abatement Technologies Aided Hurricane Maria

September is historically the time of year with the most optimal conditions for the formation of hurricanes in the mid-Atlantic region. Because of the high amounts of humidity and warm air in the Caribbean, its geographical location houses the perfect conditions for catastrophic hurricanes. In fact, this year marks the fifth anniversary of Hurricane Maria, the deadly Category 5 hurricane that devastated the northeastern Caribbean in September 2017.

As a result of Hurricane Maria, the island of Puerto Rico lost most of its essential services’ infrastructure, communities were leveled, many were displaced, and thousands of lives were lost. Five years after the disaster, the reconstruction and restoration efforts on the island are still ongoing. Following the immediate devastation in 2017, Abatement Technologies customer and restoration expert, Pat Dooley, was contracted to fly to San Juan, Puerto Rico, to do an assessment of the flood damage in the Mall of San Juan, a 1,580,000 square-foot shopping mall that first opened its doors in 2015. Upon initial assessment, Pat and his team discovered that nearly 18 inches of water had flooded the mall.

As a result of the hurricane, there were travel and equipment delays that prohibited Pat and his team from arriving in Puerto Rico until 14 days after the hurricane had already passed. Because mold incubates from a spore for 12 to 24 hours, and starts showing visual signs of growth in 48 to 72 hours, the team was challenged upon arrival with remediating severe mold growth. When remediating mold, it’s important to remove every spore to prevent regrowth. Because of this, workers had to cut and remove drywall and other materials, which lead to dust and other potentially harmful particles in the air.

In order to safely contain the mold, Pat and his team decided to bring in 100 of Abatement Technologies’ air filtration devices. These devices were situated throughout the mall to help remove any harmful particulates, bioaerosols and volatile organic compounds that were released into the air during the project. By leveraging this equipment, the team was able to help protect the short and long-term health of those involved and helped ensure that they were breathing the cleanest air possible. 

As a remediation and restoration expert, Pat is an IICRC Instructor and is the founder of what is known today as the Applied Structural Drying Course. Leveraging his education and experiences, like the project in Puerto Rico, Pat has carried out water restoration projects with a total value of nearly $14.7 million and has participated in numerous natural disaster restoration projects. With a passion for helping and protecting people, Abatement Technologies is proud to work with remediation and restoration experts, like Pat, to deliver the best solutions available in the market. 

Contact our team today to learn more about our air filtration devices and other restoration and remediation products! 

Translate