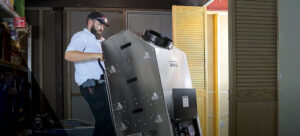
Abatement Technologies® is leading the duct cleaning industry with our quality equipment and innovative solutions. Our DUCT-PRO® source removal duct cleaning packages provide the tools professional duct cleaners need to follow the NADCA recommended steps for cleaning air duct systems effectively.
Our DUCT-PRO® cleaning process has been designed to create new business opportunities for contractors. It is faster and more efficient than other solutions on the market, and our customizable duct cleaning packages can accommodate each contractor’s unique requirements. We have developed a process to ensure duct cleaners select the right package for their needs and can customize everything from the vacuum to the AIRE-SWEEP® portable air compressor, agitation devices, and accessories.
It’s important to understand the role each piece of equipment plays in the process to ensure their efficiency and proper use. Our team of Aire Guardians at Abatement Technologies have® created a video series to provide users with the information needed to clean HVAC duct systems quickly and efficiently, leading to a profitable indoor air quality business.
To accompany the training videos, we’ve created a blog series to help break down the steps and process for using DUCT-PRO®. In our last post, we covered the proper protective equipment and prep work needed to efficiently clean ducts. Here we'll discuss the proper steps for cleaning the supply side of the ductwork.
Steps for cleaning the supply
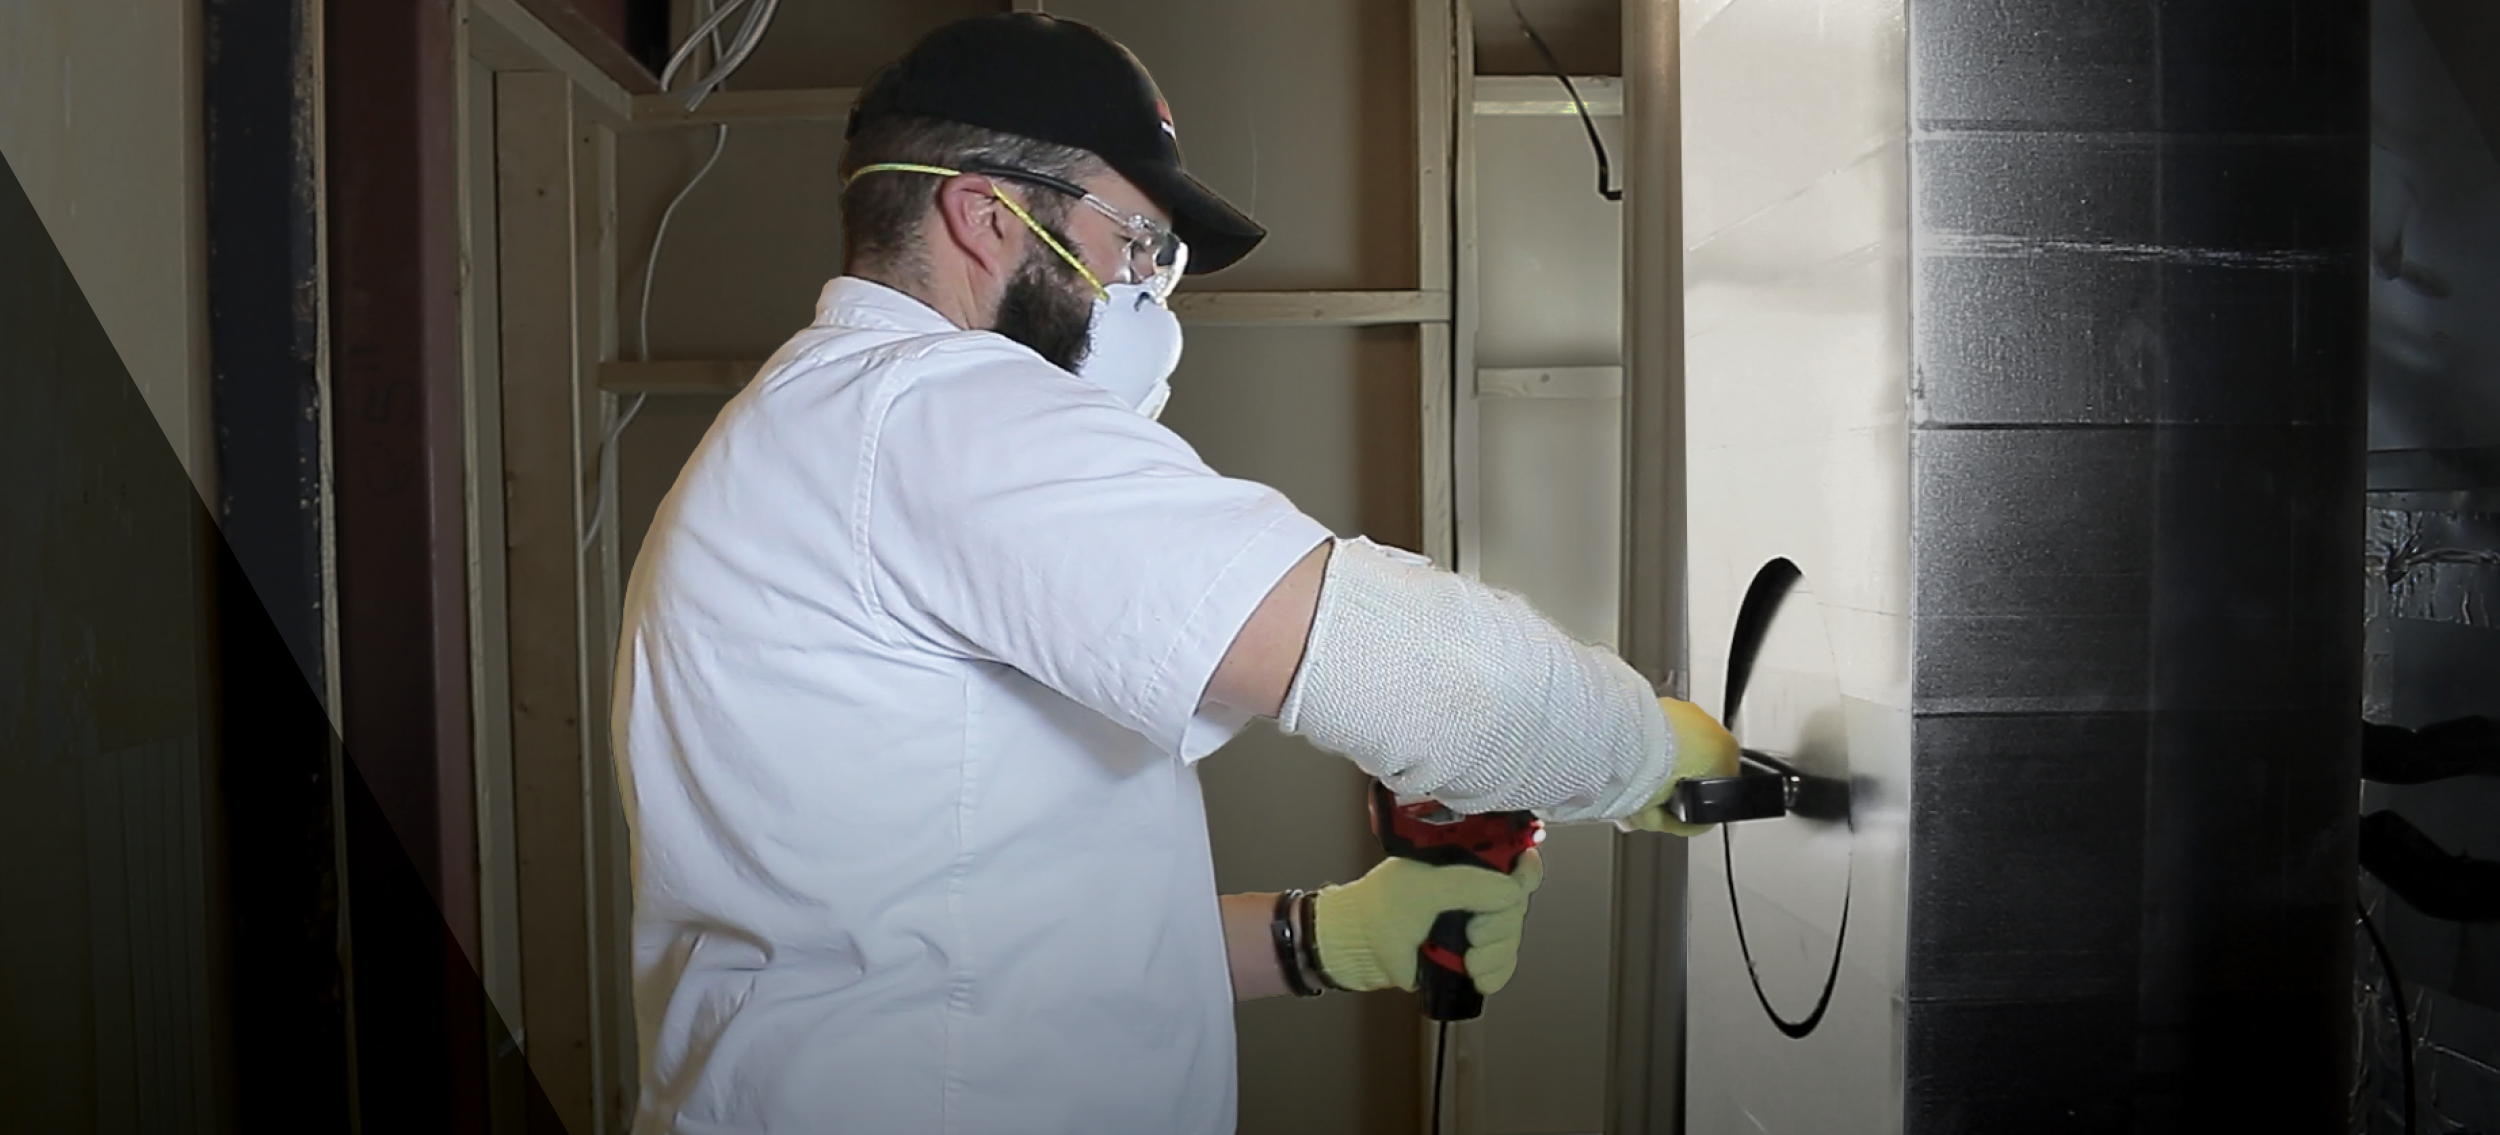
The duct cleaning professional will prepare to clean the supply side by cutting a 12-inch access hole. If cutting a 12-inch hole is not possible, the largest possible size should be cut, keeping in mind that the larger the hole, the better the airflow. If the duct is constructed with duct board instead of sheet metal, it's important to hold the hole cutter blade at a 45-degree angle (similar to cutting the top off of a pumpkin) to achieve a good fit when replacing the piece at the end of the project.
This access hole is typically cut into the plenum, as high above the coil as possible. Sometimes, the hole is cut into the main duct close to the plenum. It’s important to cut the hole high enough that the cutting doesn’t damage the coil. It’s a good idea to protect the coil by covering it with a tarp or piece of plastic to prevent debris from falling into it during the cleaning process.
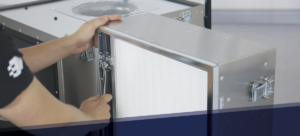
Once the access holes are made, a quick connect adaptor is screwed over the holes using zip screws to hold it in place. The contractor will then use flexible ducting to attach the quick connect collar which will be held in place using the locking collar. Duct tape can be used in this step to attach the quick connection to the duct board.
The contractor should check all damper settings in the branches and main ducts before beginning the cleaning process to ensure they are all open. With the DUCT-PRO® power vacuum connected to the supply, the duct system can be turned on to create a strong airflow through its supply.
In our next post, we’ll share how to properly conduct the push method in duct cleaning.
Want to learn more about our DUCT-PRO® equipment and packages? Click here - https://abatement.ca/duct-cleaning-process/