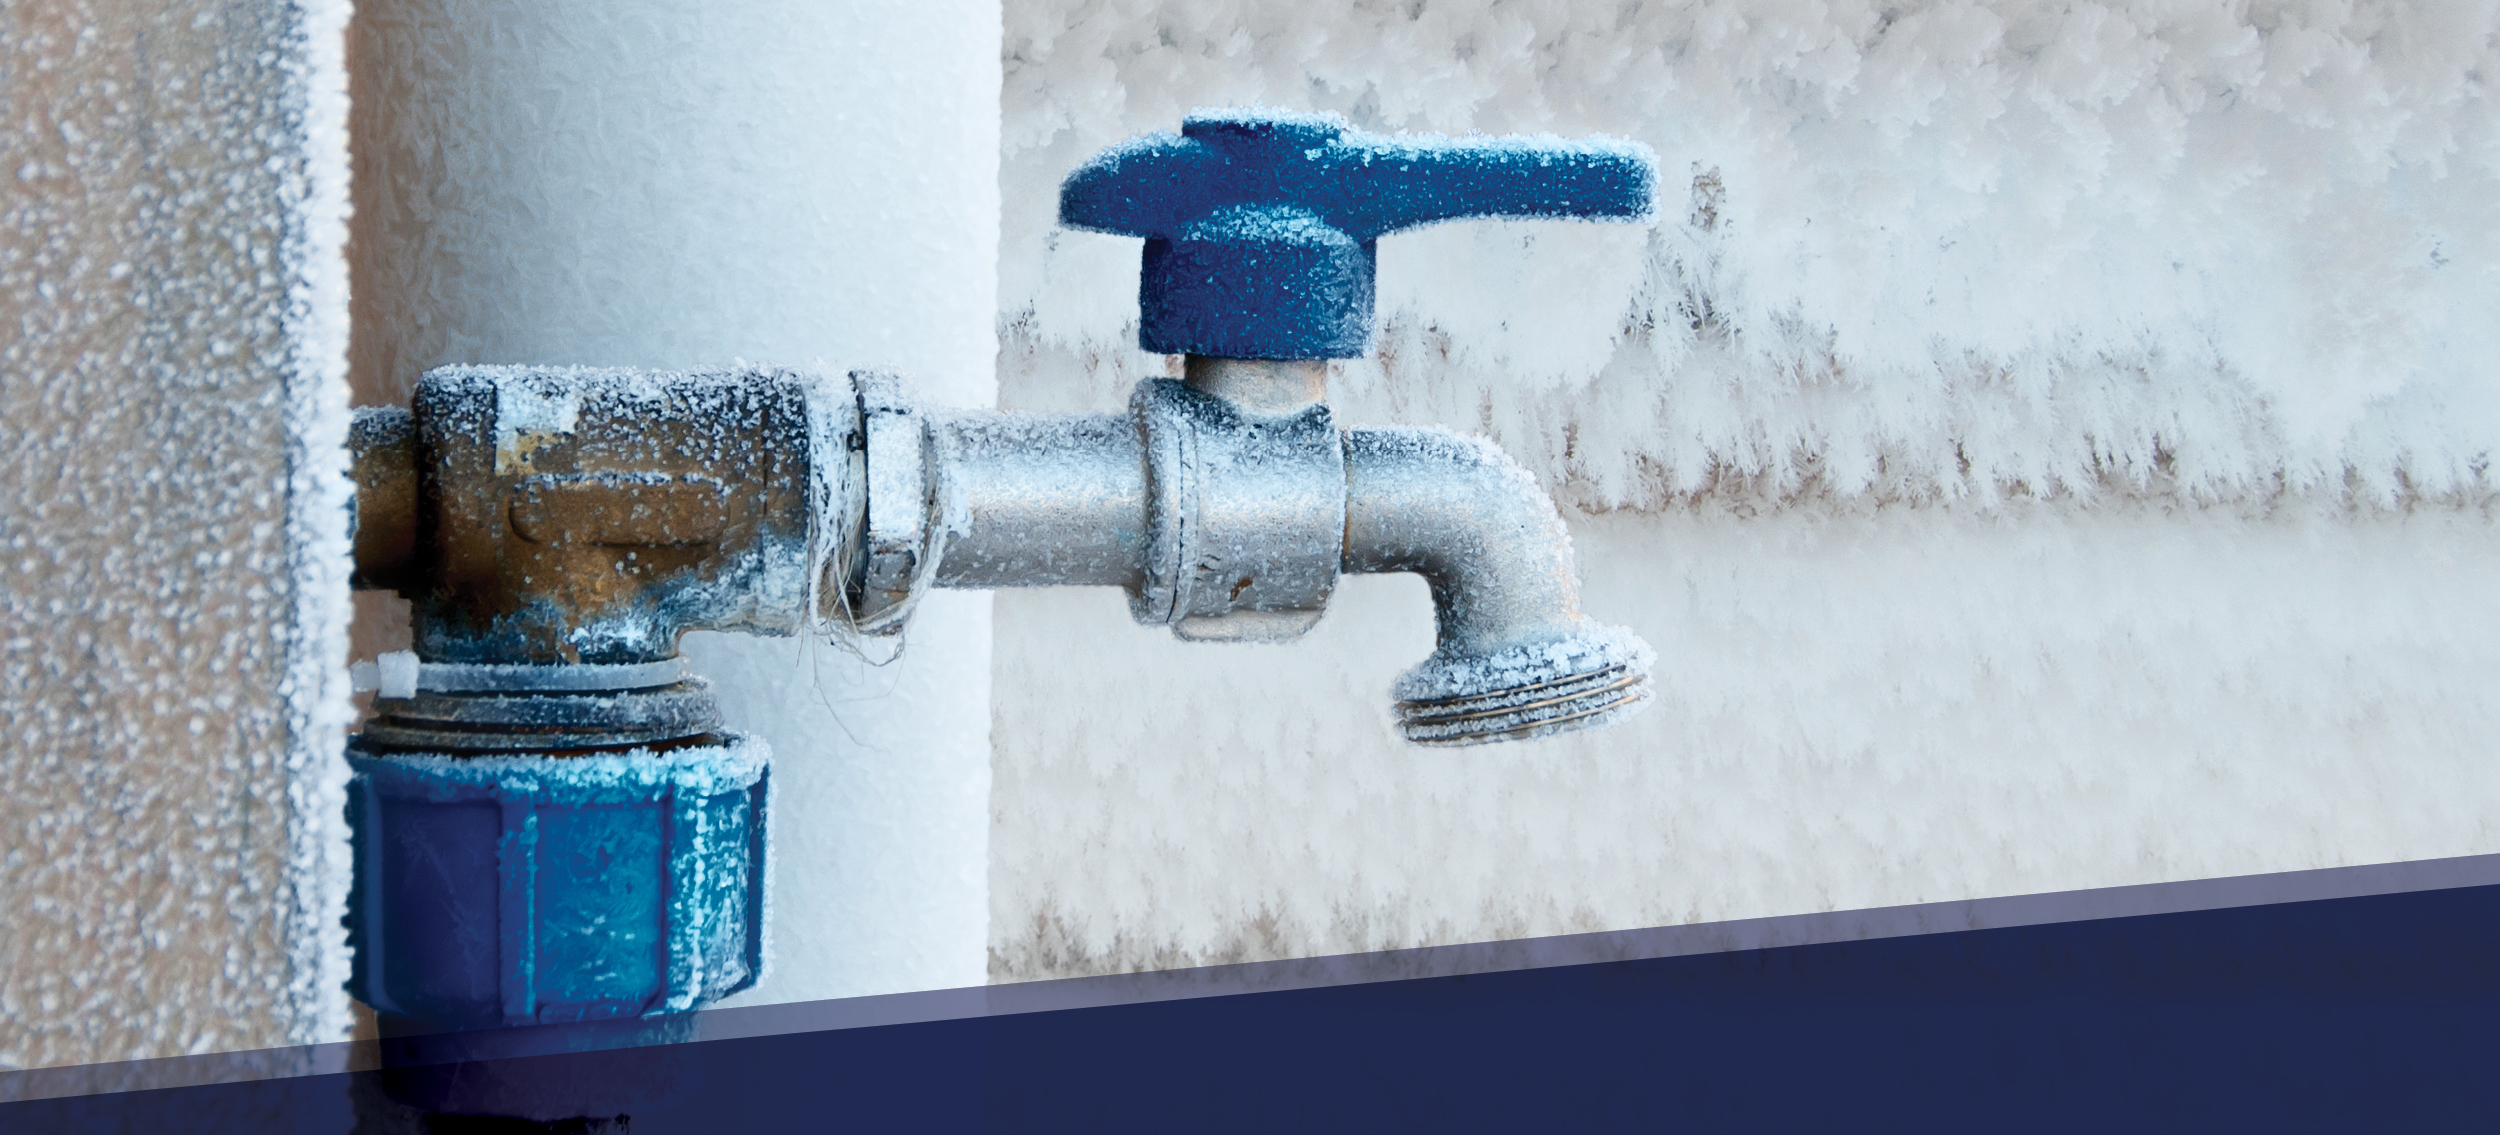
A Winter Maintenance Guide to Preventing Frozen Pipes
As the weather gets more frigid with each passing day in many parts of the world, it's important to be prepared for freezing temperatures. Frozen pipes are notoriously known to cause a significant amount of damage every year, and can result in thousands of dollars in damages if not handled correctly. When water freezes and expands, pressure builds, and vulnerable pipes are likely to burst. The smallest crack in a pipe can spew hundreds of gallons of water, resulting in flooding, mold, and structural damage. Unlike winter storms, bursting pipes are largely preventable with the right preparation. Here are a few tips on how to prevent frozen pipes, how to thaw frozen pipes before they burst, and how to avoid water damage before it’s too late:
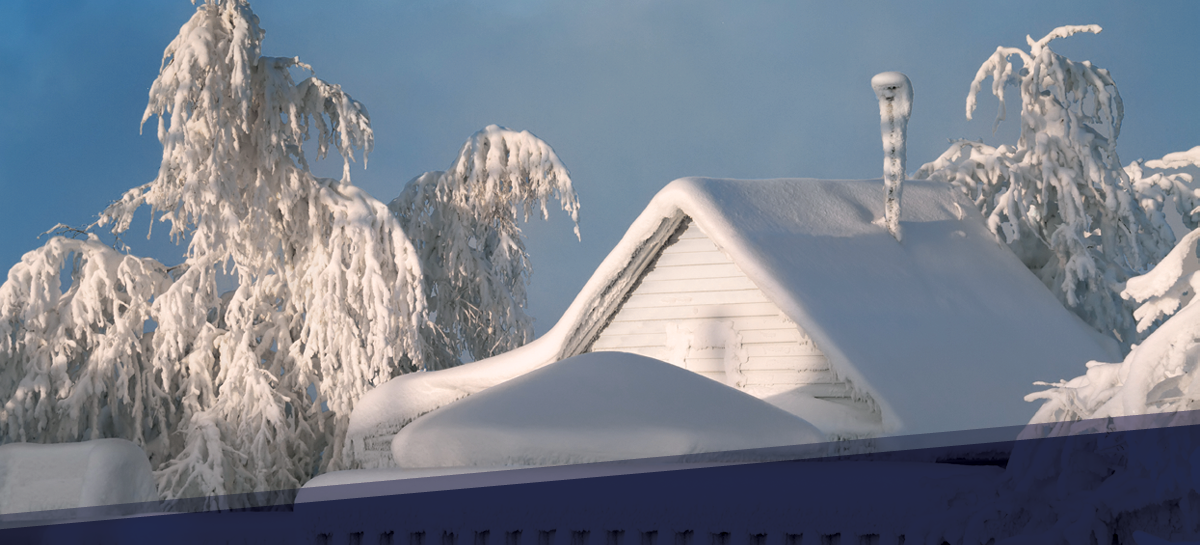
Preventing Frozen Pipes
When temperatures drop below -6° C for at least six consecutive hours, pipes are at a risk of freezing. In order to mitigate the risk, it’s crucial to consider the following:
Insulate pipes: Pipes that are exposed, pipes that run through exterior walls, and pipes that are located in unheated crawl spaces, attics, and basements are all highly susceptible to freezing. To build thermal protection around pipes, it’s important to use materials like tubular foam, pipe wrap, and heat cable to raise water temperatures by -15.56° C.
Seal leaks: Air leaks around electrical wiring and vents allow frigid temperatures to make their way around vulnerable pipes. Look for cracks around the building and tightly seal with caulk, weatherstripping, or additional insulation materials to keep cold air outside.
Keep consistent temperatures: Thermostats should be kept at a consistent temperature throughout the day and night. Dropping the temperature indoors at night may offer a lower heating bill, but adjusting below 12.78° C during extreme cold can cause a devastating strain on both pipes and furnaces.
Thawing Frozen Pipes
If only a few drops of water trickle out of a faucet when it’s freezing outside, there’s a good chance the pipes are frozen. In this stage, it’s not too late to take action before they burst:
Apply heat: Slowly apply heat using an electrical heating pad, a space heater, or hot towels. Be cautious of using appliances in areas of standing water to avoid electrocution. Start by warming the pipe as close to the faucet as possible, gradually moving towards the coldest portion of the pipe.
Keep water running: While treating the pipes, keep faucets turned on to allow a consistent flow of water. As the frozen area begins to melt, running water will assist in preventing pressure buildup and blockages that can cause a burst.
Check all faucets: If one pipe is frozen, it’s likely not an isolated situation. Check all faucets around the building for dripping water and repeat the heating process until all water pressure is restored.
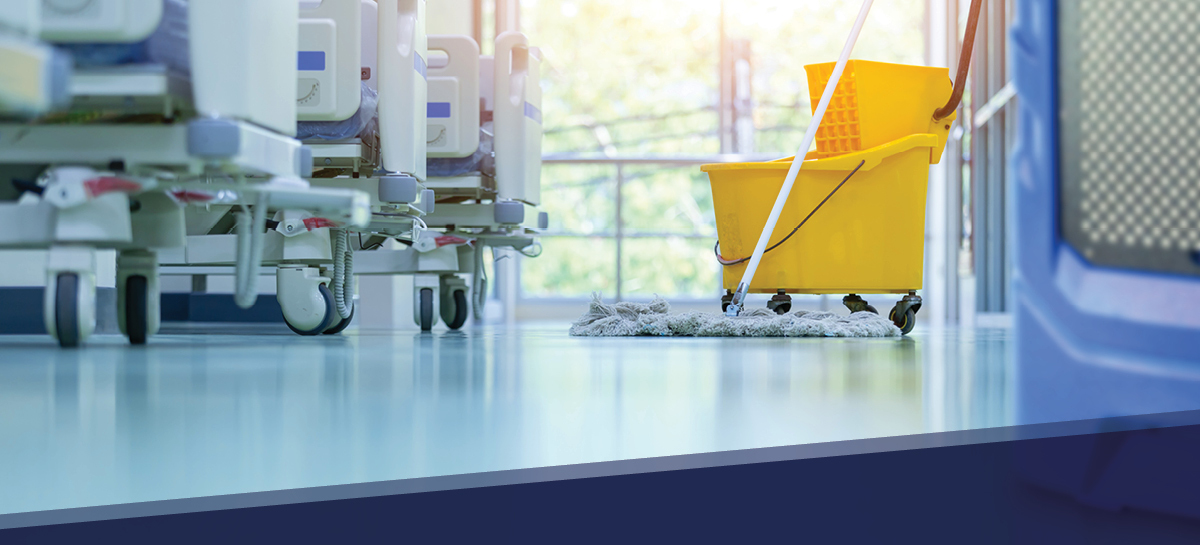
After Pipes Burst
When frozen pipes go undetected and untreated, ice blockages will likely cause pipes to burst. After the burst occurs, it’s critical to take immediate action.
Contact a water restoration expert: When it comes to mold and bacteria, time is the enemy. Everything that comes into contact with water must be properly dried, cleaned and disinfected within 48 hours to avoid residual damage. Trained professionals know the quickest, safest, most efficient ways to salvage the building and its contents by measuring and recording temperature, moisture, and humidity.
Shut off water: Locate the main water supply and shut it off to stop the heavy flow of water. Leave faucets on to relieve the pipe of remaining pressure and cold water. If the leak occurred near any electrical sockets or fuse boxes, it’s crucial to turn electricity off.
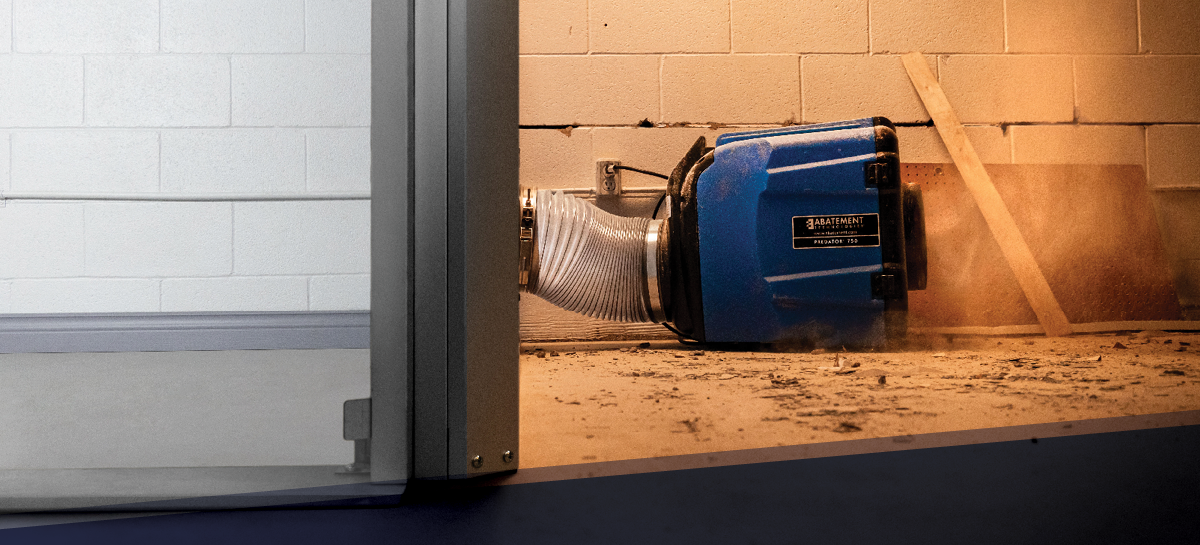
Remove standing water: The longer water stays in the building, the higher potential for mold and mildew issues. Remove as much water and moisture from the area as possible, while waiting for the experts, using a durable dehumidifier and high-speed air mover. Carpeting, drywall, rugs, cloth, and other porous materials are the most vulnerable to damage.
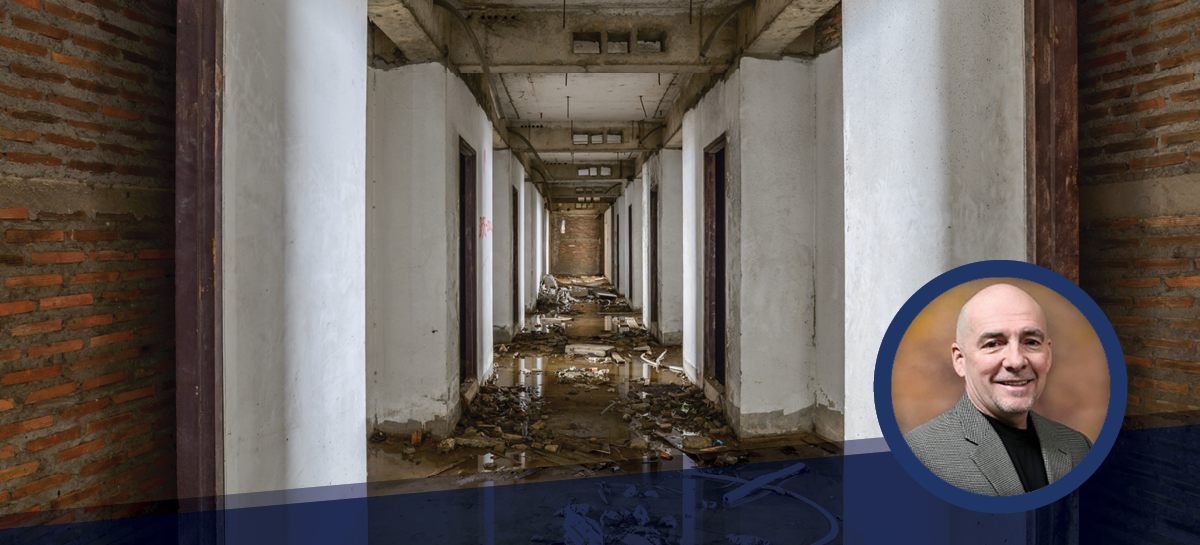
But if disaster does strike, check out our blog on Disaster Restoration Solutions.

/Test%20Label%20Asebstos%20Abatement.jpg)